Introduction
Have you ever wanted to create an amazing video for your website or YouTube channel but left the idea because you don’t have the expertise or simply don’t have enough time to create a video?
We all know that making a video can be very time-consuming and requires some level of expertise!
But what if I say there are AI tools available now that allow you to create amazing videos in a matter of time by using text, still images, or even any video that you have?
Yes, it is true. (and by the way, here is our full list of AI video generators!)
So, yes. Thanks to artificial intelligence it is now possible to create professional video content that can capable to attract a huge audience. And there are many AI video generator tools available now that can help you convert your dreams into reality, some being better than others.
I am going to cover one of the most popular AI video generator tools that I tested until now for you, that can not only convert your dream into reality but is also very cost-effective and scalable, making it an invaluable addition to your content creation toolkit.
In this article, after purchasing the paid plan, I will use and review an AI video generator tool called Kaiber.ai
I will test and review the different elements that Kaiber.ai has to offer for video creation. I will also show you a step-by-step guide to how you can create an amazing video using an AI video generator tool.
But before we dive into this, let me explain to you what exactly an AI video generator is?
What is an AI Video Generator?
An AI video generator is a software application that creates videos from different types of input, including text prompts, still images, or existing videos, all with the help of artificial intelligence. These tools are not only creating videos but they can also add voiceovers, transitions and other visual elements to the video they generate as per the user’s instructions.
These AI video generators are gaining popularity because they can quickly make videos without needing experts or expensive help. They’re easy (and cheap) for individual and businesses to use.
You can use these tools to create content for websites, marketing videos, short and fun social media clips, or educational videos that teach you things. Plus, the entertainment world loves them too! They use these tools to make cool effects, animations, and even create talk and scenes in movies and TV shows.
And guess what?
These AI video generators let you make videos just the way you want them. You can add music or a voiceover, and you can change how the video looks to fit your style. It’s all about making videos your way!
But of course, the quality of the AI video generation tool that you use will make all the difference! Among these tools, Kaiber has been rising in popularity in the recent months.
So, it’s time to jump right in and find out if Kaiber.ai lives up to our expectations. We’ll explore the various elements and options that Kaiber.ai offers and see how user-friendly it is.
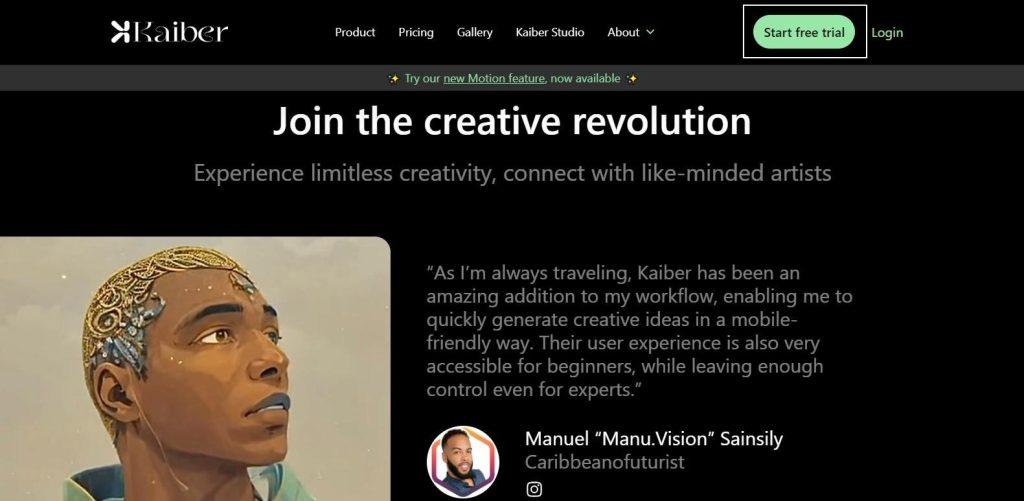
Getting started on Kaiber.ai
To get access to Kaiber, open a web browser and go to kaiber.ai, and then press ‘Start free trial’ and then go ahead and register an account.
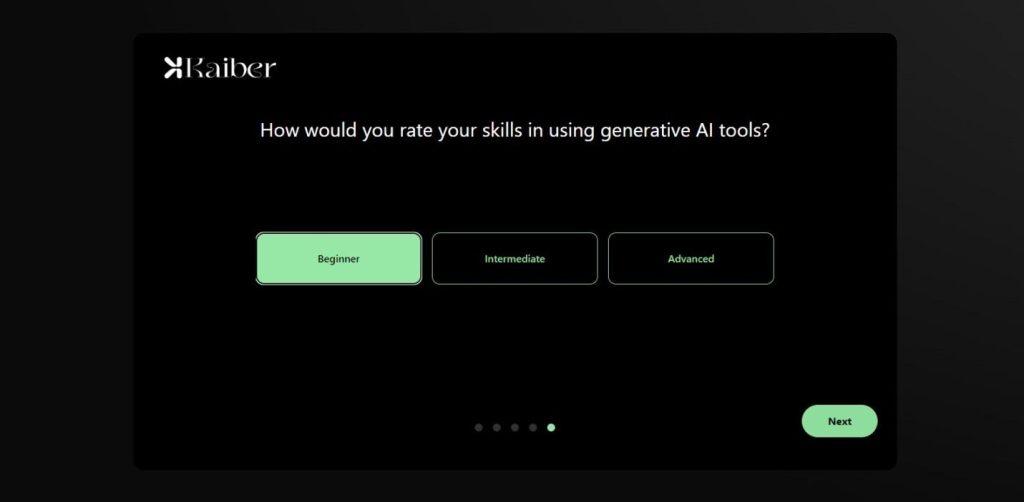
Once you finish your registration the system will ask you some basic question such as
- How did you discover kaiber.ai?
- What best defines the type of work you do?
- What are you main and secondary use cases Kaiber?
- How would you rate your skills in using generative AI tools?
You can give the answer from the given options your own way.
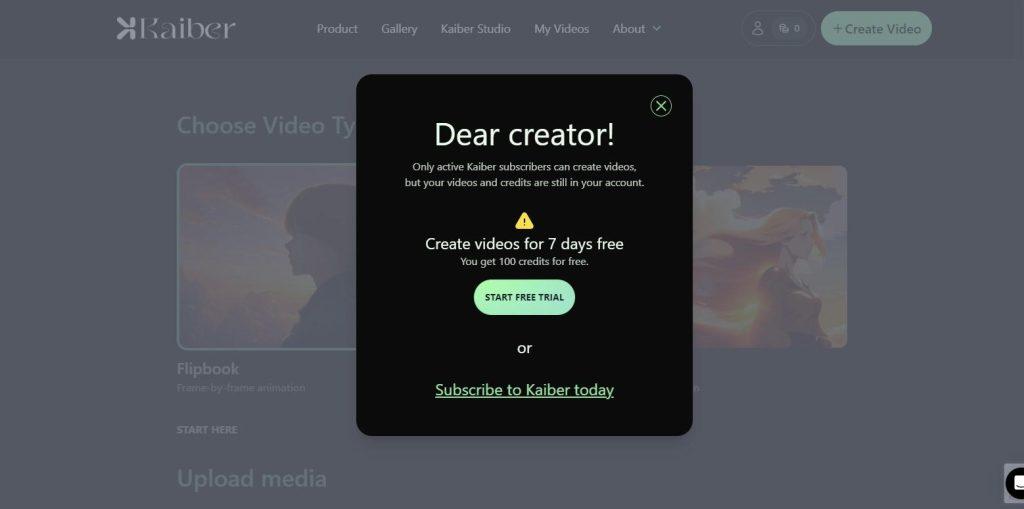
Kaiber.ai is a credit-based platform, as a new user you can use kaiber.ai for 7 day free trial. In this trial period, they give you 100 credits for free but for that, you do have to subscribe.
So, before moving forward, let’s have a quick look at Kaiber pricing plans. I think one great thing about Kaibe is the affordable pricing plans, that start at just a few dollars per month!
Kaiber.ai Pricing Plans and Features
The seven-day free trial is available right now, but after that you will get charged. However, if you cancel your subscription before the 7th day, you will not be charged.
Below is the pricing table that kaiber.ai offers to its customers.
Explorer
Unlock all that Kaiber has to offer-
7-day free trial, 100 credits
-
$5 billed monthly for 300 credits
-
1-minute videos
-
Gallery
-
Audioreactivity (upload music)
-
Animation (start with a prompt)
-
Image-to-Video (start with an image)
-
Select camera movements
-
Storyboard
-
Any aspect ratio
-
PRO
More credits for committed creators-
$15 billed monthly for 1,000 credits
-
Discounted credit packs
-
8-minute videos
-
Gallery
-
Audioreactivity (upload music)
-
Animation (start with a prompt)
-
Image-to-Video (start with an image)
-
Select camera movements
-
Storyboard
-
Any aspect ratio
-
Upscale 1080p & 4K
-
Kaiber aims to support artists and creators with its versatile pricing options, making limitless creativity just one click away.
Once you’ve chosen your package and finished sign up, you will just have to come over here to press ‘Create Your First Video’, and that will bring you to this page. Over here, you’ll see your credits; so depending on your plan, you will have a certain number of credits.
Each time you create a video, you will use credit, so I’ll point that out, so you don’t just keep pressing create a video every time and use up your credits quickly. It also depends on the length of the video how much credit it’s going to take up.
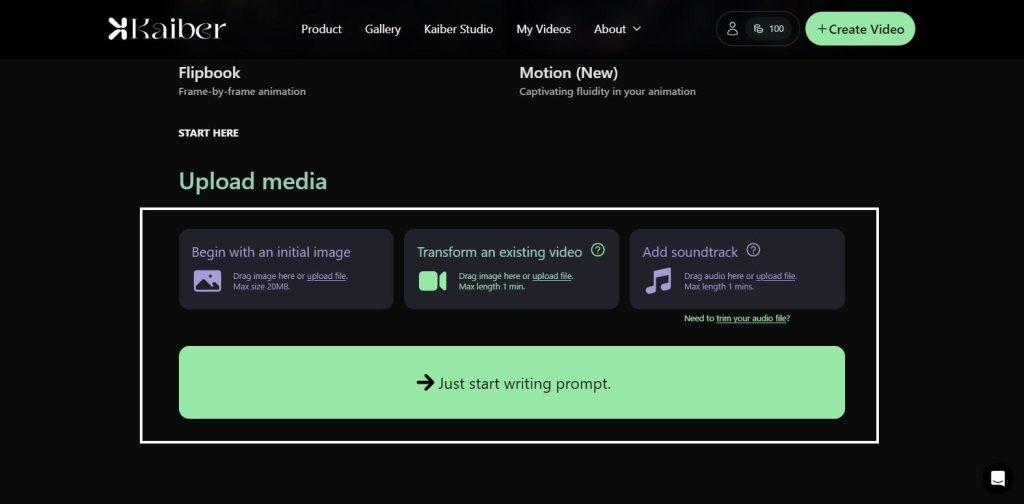
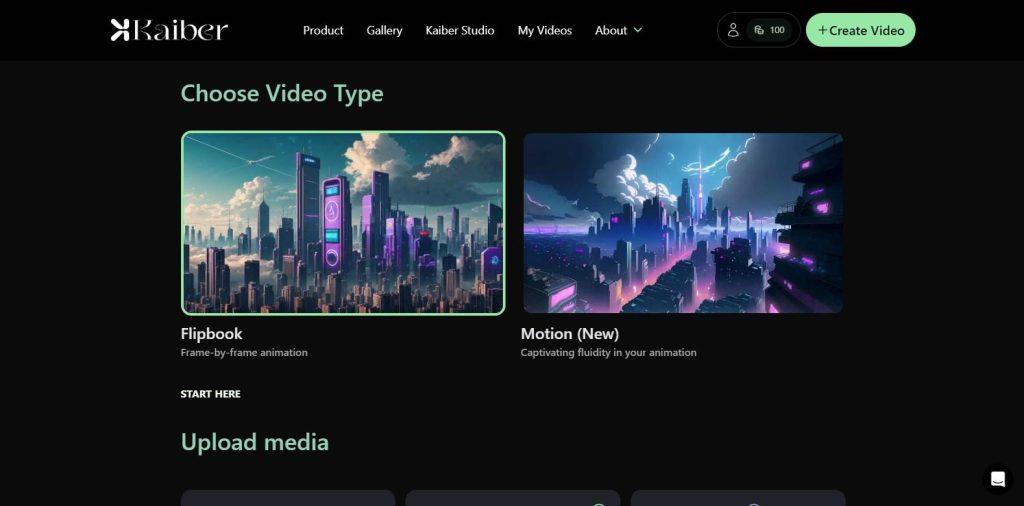
Now, here on the same page you’re going to get four different options.
These four different boxes are
- The first one is ‘Begin with an initial image’ and it will start a video using that as a base.
- The second box is ‘Transforming an existing video’, basically stylizing a video where you turn any of your existing video in a full animation video, this one is one of the most powerful ways of creating videos I’ve ever seen.
- The third one is ‘Add soundtrack’; where you could also create music videos using these types of hybrid AI animations with a song or audio file as your base. The animations will react to the audio/song.
But the most common way and the way you should get started is ‘Just start writing prompt’. So let’s start with this one. Click on the ‘Just start writing prompt’ button and this is the very first page that you are going to land into.
Creating Your First Video with Kaiber.ai
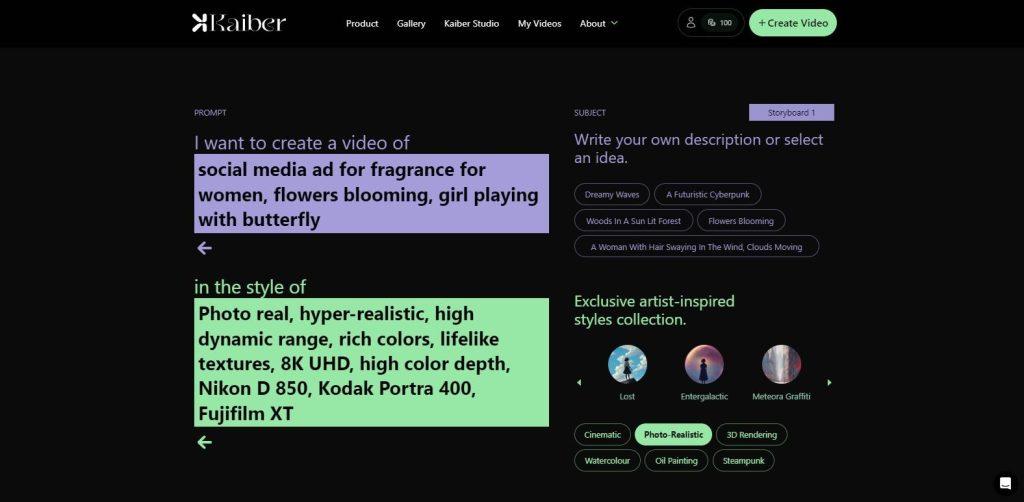
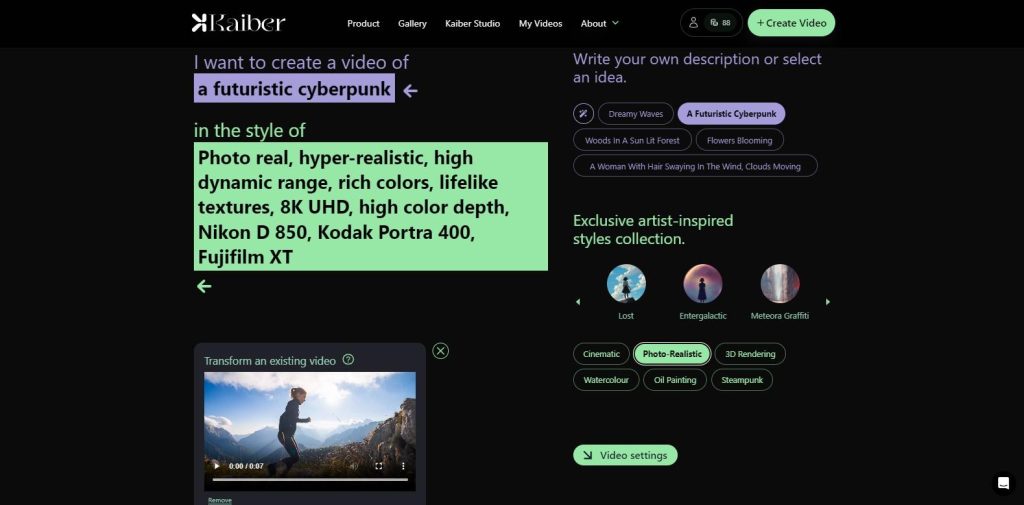
The prompt section actually has two different parts and two different pages to it. One part involves describing the subject, while the other requires you to specify the style you desire for your video.
In the ‘(describe subject)’ box, you can either provide your own description or choose from the ideas provided on the page for reference.
For example, if you want to depict a ‘Flowers Blooming’ scene, you can enter that concept into this box.
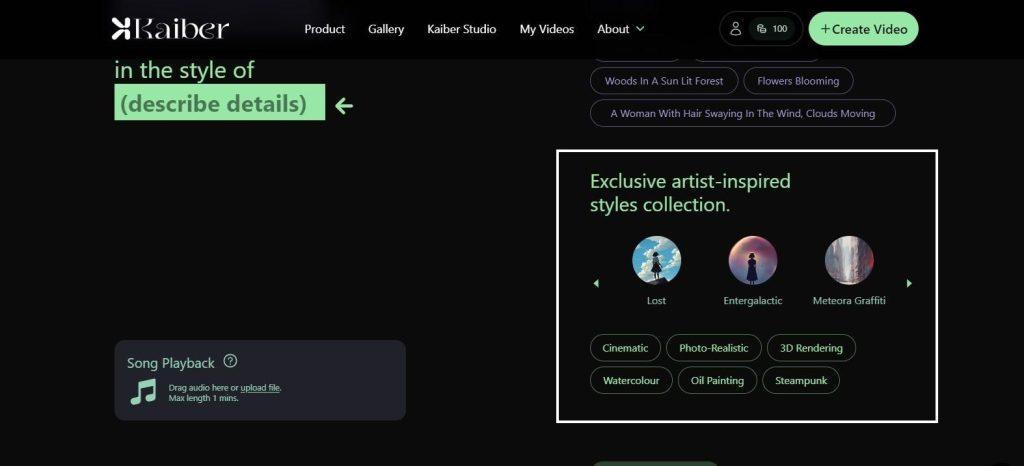
What’s particularly helpful here is the variety of styles available. These styles encompass cinematic, photorealistic, and some even offer previews.
For instance, I typically prefer to begin with either “Cinematic” or “Photorealistic.”
These styles encompass features such as photo real, hyper-realistic, high dynamic range, rich colors, lifelike textures, 8K UHD resolution, high color depth, and camera options like Nikon D850, Kodak Potra 400, and Fujifilm XI.
This diverse range of descriptive words allows you to tailor your chosen style precisely. If I were to select “3D Rendering,” it would yield an entirely different result.
So, this is genuinely valuable. It all begins with a prompt consisting of the subject matter you wish to visualize and the style you desire. Kaiber also provides a guide that instructs you on precisely how to formulate these prompts. In essence, these are the elements you should include:
- Subject: This is what you want to see, for instance, “Flowers blooming” in this case.
- Details: Include any supplementary information, such as “Social Media Ad for fragrance for women” or “a girl playing with a butterfly,” as these additional details can enhance your creation.
- Style: Here, you have the freedom to select your preferred artistic style.
To achieve the best results, aim to incorporate elements from all these different aspects. These instructions apply to the very first page of the process.
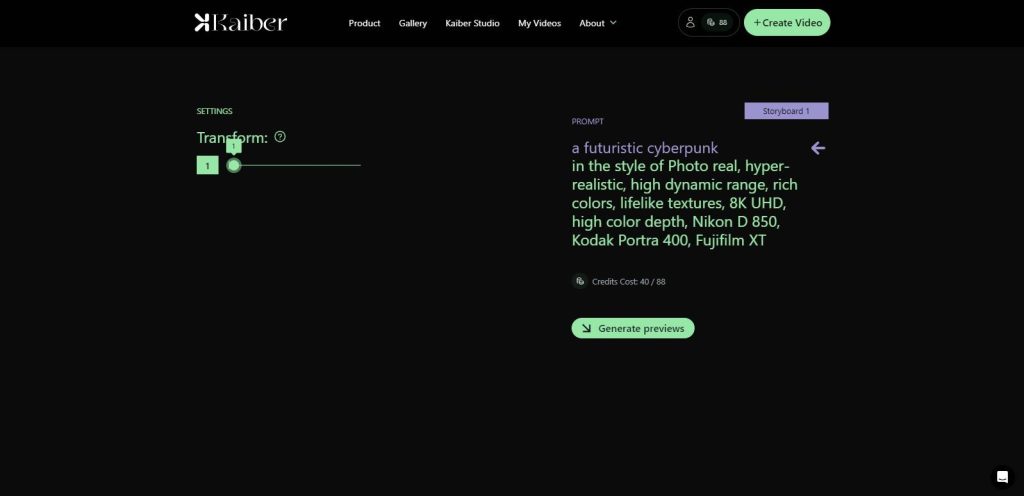
And after this click on the Video Setting tab. This is the second page for the video generation on kaiber.ai. So the first page was to kind of define what the image that starts our video is going to look like. Now on this second page we are going adjust some settings for our video.
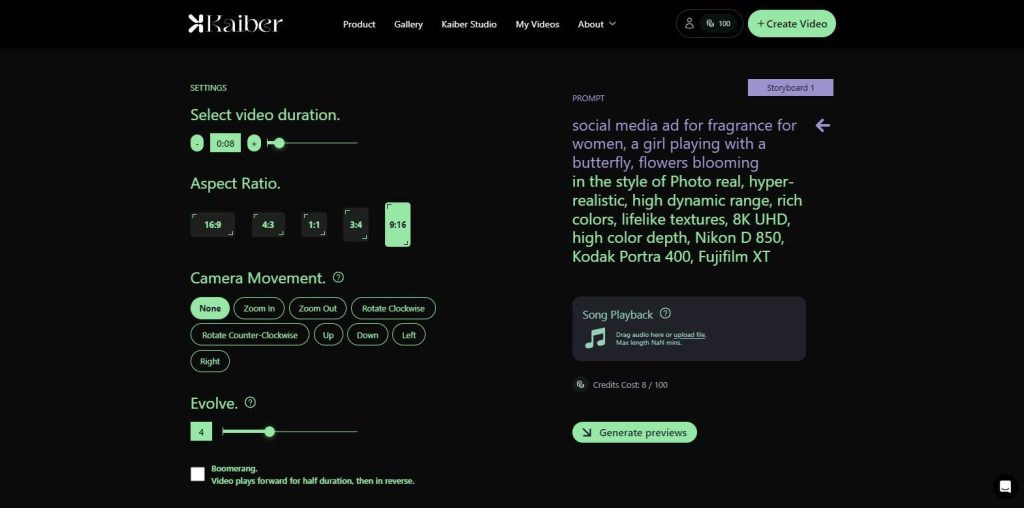
- Select video duration: When it comes to duration, you have the flexibility to go all the way up to a full minute, which is an extremely valuable option. By default, it’s set to eight seconds. In this case, I’ll reduce it to six seconds to conserve credits.
- Aspect Ratio: Regarding aspect ratio, if you’re creating content for platforms like TikTok, which favor vertical framing, or if you’re targeting Instagram Reels or YouTube, the standard 16×9 ratio works well. It’s suitable for a typical cinematic look.
- Camera movement: Now, let’s talk about camera movements. This parameter significantly influences how the camera behaves within your scene. If you choose “None,” the camera remains static. However, I find options like “zoom in” or “zoom out” quite engaging.
In this instance, I’ll select “zoom out.” The camera movement rating can vary from one to ten. Higher values, like ten, result in a dynamic and constantly shifting scene, while lower values, around one or two, keep it relatively stable.
It’s often a good idea to start in the middle and adjust according to your preferences. For instance, when creating a music video, I tend to favor a rating close to 7 or 8, but for storyboards or standard animations, I prefer a value closer to one.
Boomerang: Additionally, there’s the “Boomerang” option, which plays the video forward and then in reverse. It’s an interesting feature that you can toggle on or off. Keep in mind that using this option for your clip will consume six credits.
Let’s proceed to the preview to see how it looks and for that just click on ‘Generate Preview’ button.
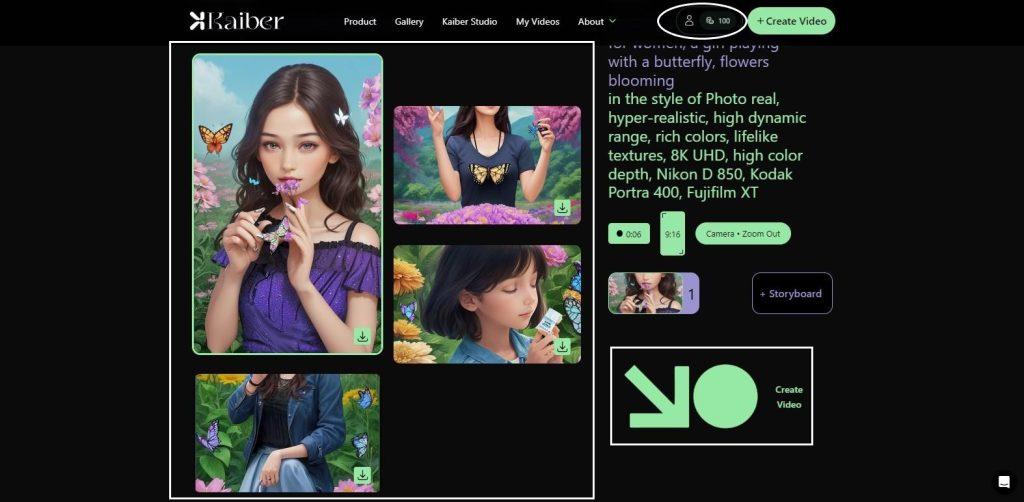
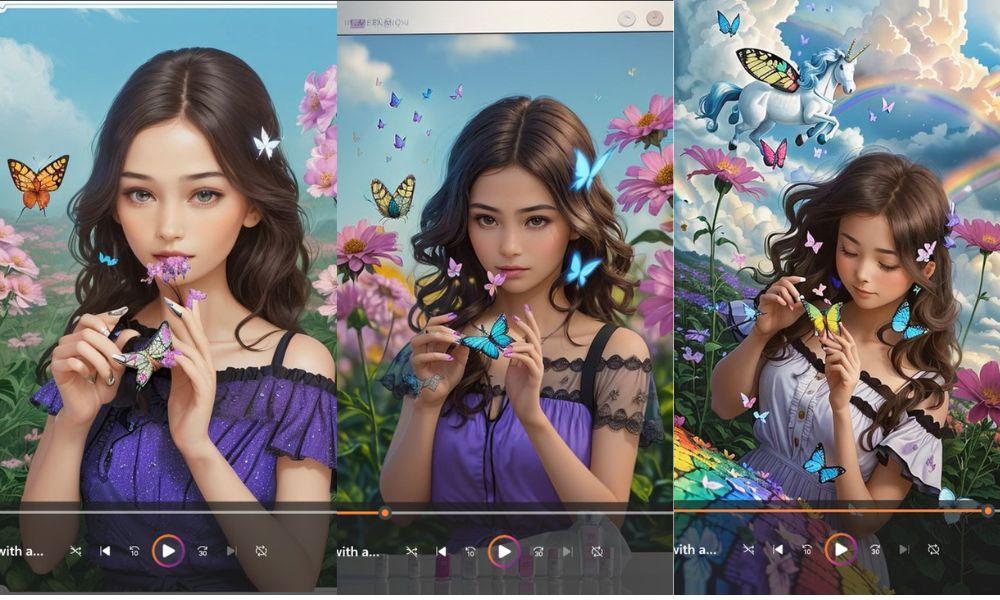
Up to this point, I want to bring your attention that I haven’t incurred any charges. Despite having 100 credits, they remain untouched. Charges will only apply when I press the ‘Create video’ button here. Now, within a matter of seconds, I should receive four distinct frames.
Each of these frames can serve as the starting point for your video, and you have the freedom to choose any of them. They offer completely different visual perspectives. I’m quite fascinated by the first one, so I’ll begin with that and see how it turns out.
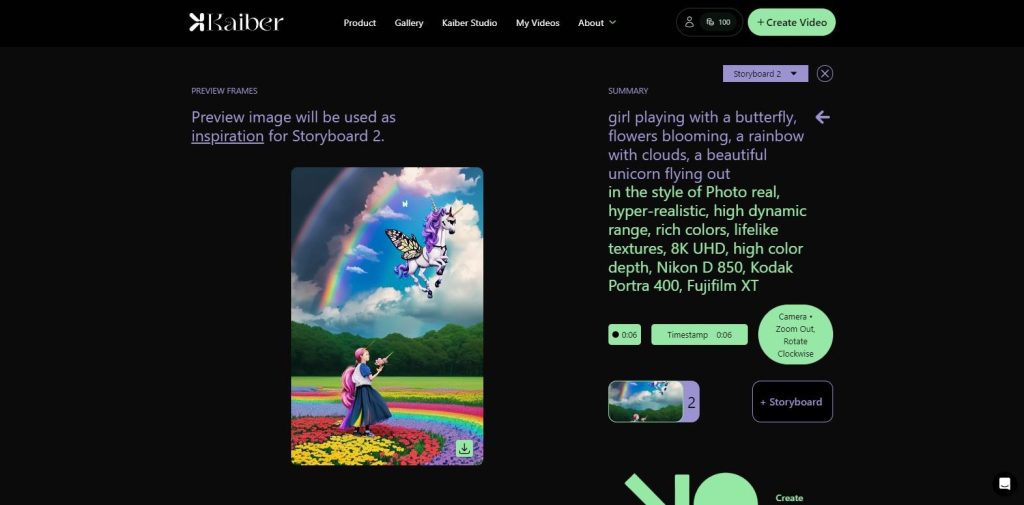
On the right side of the screen, you’ll find a comprehensive set of settings. These include a summary of your chosen prompt and style, details about duration, size, and camera movement. Additionally, it displays the selected frame, which will initiate the video as soon as I create it.
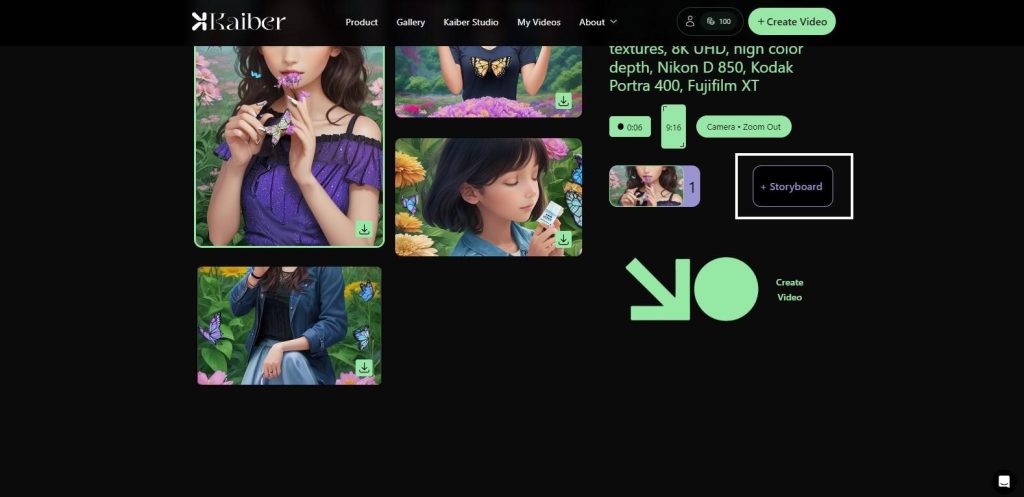
Using Storyboards for Narrative Videos
Now, before I proceed to create the video, I’d like to introduce another exciting feature – the ‘Storyboard’. This option effectively takes you back to the initial prompt page, but it allows you to craft an entirely separate scene.
For instance, I can begin with a single shot and then describe a second shot; let’s say, a rainbow with clouds followed by a unicorn flying out.
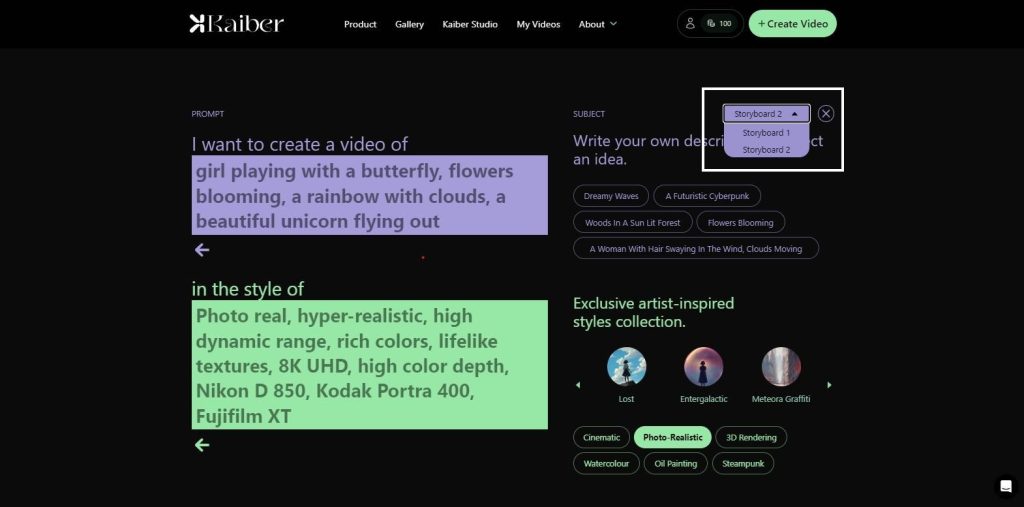
I can keep everything else the same and move on to the video settings. This time, I might opt for ‘Rotate Clockwise’ in the scene while maintaining the other settings unchanged. Let’s preview this version.
Using the storyboard, I can create a cohesive narrative shot by shot. Each time I work on a storyboard, it generates a new shot, and I can envision how it fits into the sequence.
For now, let’s return to storyboard 1, which is where we’ll begin. Once you’ve configured all the settings, you can simply hit the “Generate video” or “Create video” button.
In this case, I’m preparing both storyboard 1 and storyboard 2. Please note that this process may take some time, occasionally up to 10 minutes, based on my previous experiences.
However, I’ll provide you with a detailed look at the output. Additionally, towards the end, I’ll demonstrate another option where you can upload an existing video and transform it into a highly engaging animation.
Okay now, my video has been generated you can download and view the results by clicking on the link provided below.
For the reference I’ve given some screen shots of the video here,
As you can observe, there’s a gradual zoom-out effect, creating a visually engaging transition. Subsequently, it smoothly transitions to my second clip, where it begins a gradual zoom-in towards the second screen that has a rainbow and a unicorn in it.
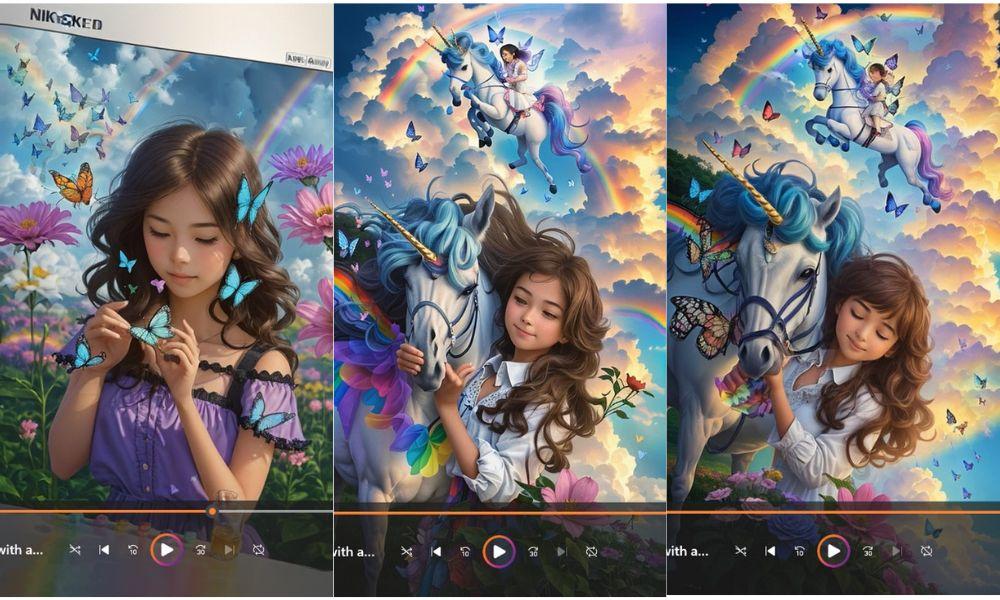
This entire sequence comprises a 12-second clip that I crafted, and it demonstrates the remarkable creative potential of this tool. I maintained a slider setting between 3 and 4, resulting in subtle frame movement, except for the pivotal moment when the camera descended towards the unicorn.
With the storyboard option, you have the capacity to generate numerous shots and construct a cohesive narrative, allowing you to create longer videos, possibly even reaching one minute or more in duration.
To share your creation, you can utilize the “Share” function, which generates a link that can be easily copied or emailed.
However, my preferred method is to click “Download” to save it directly to my computer. It’s worth noting that the resolution of the downloaded video may be slightly lower, but you have the option to upgrade or upscale to 4K or 1080p video resolutions.
These higher resolutions are available, although they may require a more advanced subscription plan than the one I currently have.
If you navigate to the “Video” tab in the menu, you’ll find all the videos you’ve created, neatly organized and easily searchable.
Transforming Existing Videos with Kaiber.ai
Now, let’s go ahead and create another video to demonstrate the transformation of an existing clip. This feature genuinely amazed me.
For that click on the ‘Create Video’ button and then click on ‘Transform an existing video’ option.
I have a video here of a model climbing on a mountain, lasting about seven seconds. I’ll upload this video, which I sourced from another subscription platform called Canva where I access royalty-free images, photos, music, and more.
This platform offers an extensive library of video files, giving you a vast range of creative possibilities. I chose a running clip because I’ve discovered that with copyright-free imagery, I can transform it into virtually anything I desire, and the results can be astonishing.
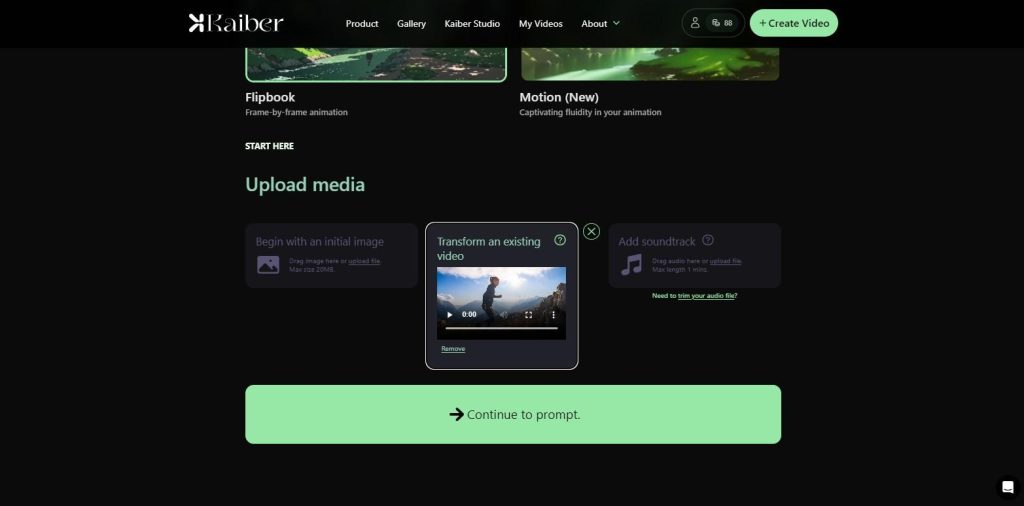
Next, I’ll click “Continue to prompt“. Here, I’ll use the futuristic cyberpunk theme. I won’t delve into additional details this time. As for the style, there are numerous options to explore.
For this demonstration, I’ll select “Photorealistic.” Keep in mind that this choice defines the style applied to your video. You can even convert the video into a 3D rendering or mimic an oil painting, thanks to the array of available options.
Now, let’s move on to the video settings. It’s worth noting that, in this case, most of the settings, including camera movements, will be inherited from the video you’ve uploaded, rather than being customizable.
To achieve a more stable and realistic movement in this transformation, I’ll keep the transformation setting at the highest stability level.
Now, let’s move on to previewing the frame once again. Keep in mind that this clip is seven seconds long, matching the clip’s duration.
It’s essential to avoid adding excessively long clips, such as those lasting a minute, as they will consume a significant portion of your credits. To preserve your credits, it’s wise to avoid this practice.
The system will generate four different frames for us. While that process concludes, I’ve already selected one of the frames.
However, I’d like to take a moment to show you the version I created using this method, which showcases its impressive quality. As you can see, it produced an incredible cyberpunk video featuring a model climbing on the mountain.
You can check the full video below!
Audioreactivity: Enhancing Music Videos with Kaiber.ai
Now, let’s explore another incredible feature of Kaiber.ai—Audioreactivity. This powerful tool empowers musicians and artists to elevate their music videos by synchronizing captivating visuals with the rhythm and energy of their music.
Audioreactivity, an innovative Kaiber feature, bridges the gap between auditory and visual sensations in music videos. By mapping visuals with audio, it creates a dynamic and synchronized connection.
Audioreactive visuals can pulse, vibrate, change colors, or move in harmony with the beats, melodies, and intensity of the music. This infusion of visual dynamics enriches the overall viewing experience, leaving a lasting impact.
How to Use Audioreactivity on Kaiber?
- Upload Your Song: Start by adding your music track to Kaiber. Make sure you have the rights to use it.
- Customize Settings: After uploading, adjust the audioreactivity settings to match your style. Choose prompts for specific effects, colors, and themes.
- Generate Visuals: Once settings are set, let Kaiber’s tech analyze your song’s audio. It will create visuals synchronized with your music’s rhythm and mood.
- Export and Share: When you’re satisfied, export the music video. Share it on social media, music platforms, or your website to showcase your creative masterpiece.
Users Review

So, how is Kaiber AI rated among customers and on the internet?
We digged the web for you to understand Kaiber’s online reputation and customer satisfaction.
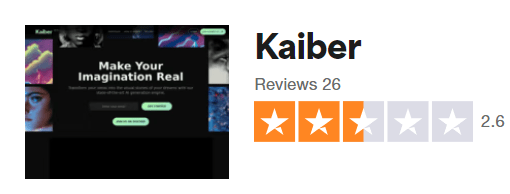
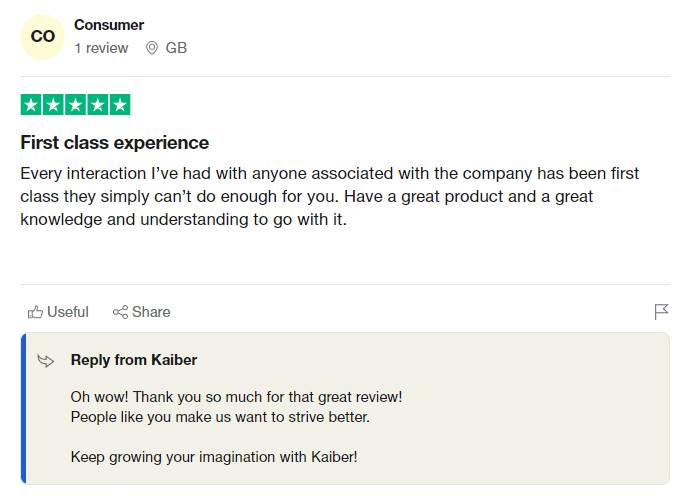
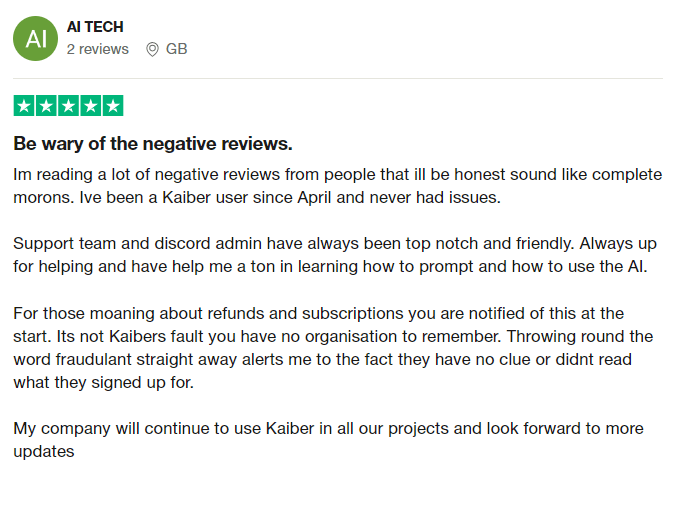
On Trustpilot, Kaiber.ai has received moderate reviews with an overall score of 2.6 stars based on 26 customer reviews. Customers have highlighted its helpfulness in creating various types of videos, and large stock library, as well as AI features like ambient background music.
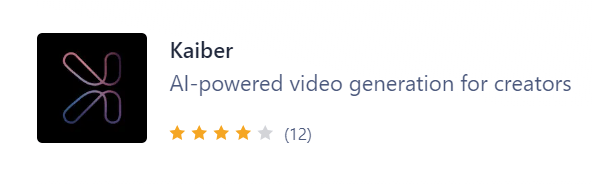
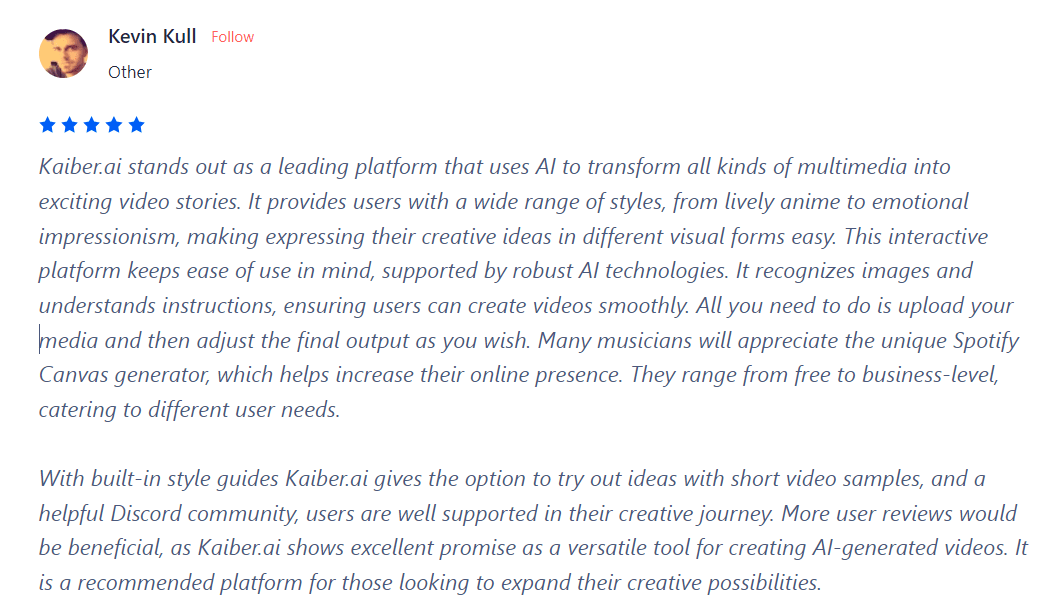
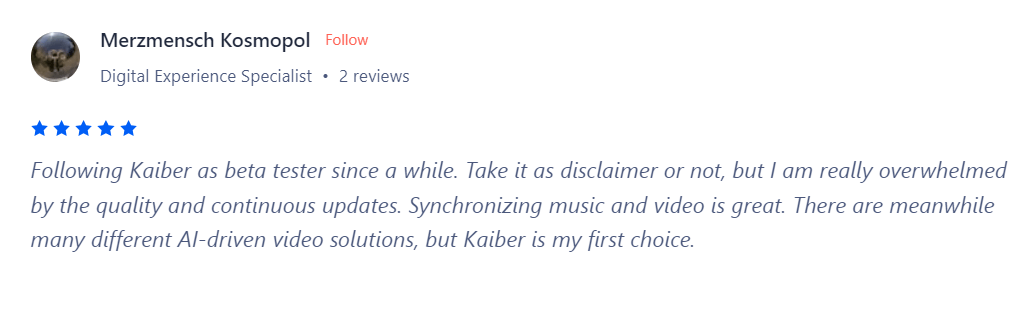
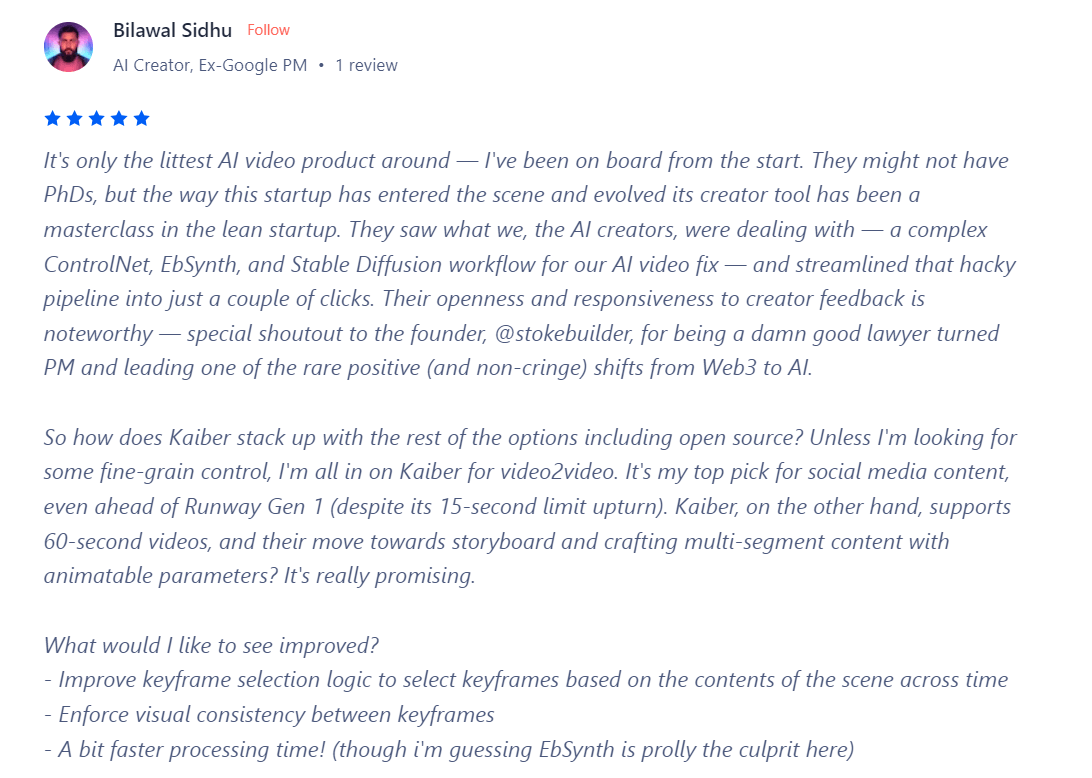
Producthunt have listed Kaiber.ai with an aggregate user review score of 4.3 stars out of 5 with 12 customer reviews. As per all these reviews, for many, Kaiber is the go-to platform for making videos using artificial intelligence (AI). Reviewers love its video quality while noting its affordable paid plans. Check the carousel below
 Kaiber
|
 Trustpilot
|
 Product Hunt
|
 G2
G2
|
 Capterra
|
No. of Reviews | 26 | 12 | - | - |
|---|---|---|---|---|
| Rating | 2.6 / 5 | 4.3 / 5 | - | - |
| Average Rating: 3.45 | VISIT KAIBER OFFICIAL SITE | |||
So, that's all, folks!

I believe Kaiber.ai is genuinely a game-changer in the era of content creation using artificial intelligence. In this age of video content dominating websites and social media, Kaiber.ai stands out as an incredible tool that should be a part of your content creation toolkit.
Right from the beginning, you’ll notice its user-friendly interface, making video creation a breeze. But what are even more impressive are the features that Kaiber.ai offers to its users.
You can kick start your video creation journey with a simple text prompt, breathe new life into your existing videos by crafting mind-blowing animations, or even produce mesmerizing music videos by easily uploading your music and utilizing Audioreactivity. The creative possibilities are boundless, and one thing is for certain: the quality of the videos it generates is consistently top-notch.
Kaiber.ai’s affordable pricing plans cater to everyone, from solo content creators to power users and even enterprise-level users. What’s most noteworthy is that Kaiber.ai generously provides you with 100 credits during its 7-day free trial, allowing you to explore its capabilities without spending a dime.
In a nutshell, Kaiber.ai is your robust AI video generator tool that not only lives up to its promises but goes above and beyond. Its innovative features, affordability, and scalability make it an indispensable addition to your content creation toolkit.
I wholeheartedly give this superb AI tool a 5 out of 5-star rating for AI-driven video creation, empowering creators like you to effortlessly bring your ideas to life with a touch of creativity. Kaiber.ai is your partner in unlocking your creativity and transforming your concepts into captivating video content.