Introduction
Do you ever dream about making your very own website but shudder at the thought of dealing with all the complicated and time-consuming stuff?
Well, guess what?
There’s no need to worry anymore because the perfect opportunity has arrived! Forget those days when creating a website meant struggling with confusing code and tricky design work. We’re now living in an age where AI-powered website builders have completely changed the game.
In this article, get ready to join us on an exciting journey into the world of instant website creation, all thanks to the magic of AI.
Imagine this: you can whip up a stunning website in just a few minutes, and you don’t need to be a coding wizard to do it. It might sound like something out of a fantasy, but it’s all real, thanks to some incredible tech advancements.
We’re here to guide you, to tell you about all the cool benefits of using AI for web design, and to introduce you to some of the best AI website builders around.
The best part?
Most of these tools won’t cost you a dime, which means your dream of having your own website is now closer than ever.
So, let’s not waste any more time – we’re about to explore the world of AI-powered website builders that can help you create a website using AI, grow website with AI in minutes, and much more.
Whether you’re on the hunt for a free AI website builder or simply curious about the wonders of AI in web design, get ready for an exciting journey!
#1 Codedesign - Effortless AI-Powered Website Creation

Let’s embark on our journey with an AI website builder known as Codedesign.ai where you can create website using AI in seconds. To begin, visit codedesign.ai and select ‘Build your website using AI.’ Describe your website’s purpose and how you envision it.
Afterward, click ‘Generate website,’ and witness your website taking shape before your eyes. Voila! You now have a complete website, all from a brief description of your business.
If, however, you’re not satisfied with the design, simply click the “Regenerate Site” button located in the top right corner to generate a fresh website design. You’ll likely find it even more appealing than the previous version, but you can still restore the previous one if not.
Now, if you wish to modify the content generated by the AI, such as tweaking a heading, simply select or click on that heading and input your own text in the text box provided on the right panel.
Alternatively, click the “AI Magic Button” in the top left corner of the specific heading and choose “Improve writing,” and witness AI craft a new heading for you.
The same flexibility applies to other sections; select the one you wish to modify and then click ‘AI Magic,’ and opt for “Improve writing.”
Customizing the visuals on your website is just as straightforward. Select an image and click the “Replace Image” button on the right-side panel to upload your own image, or you can browse and select a picture that aligns with your vision.
To take your website live on the internet, simply click ‘Publish.’ Then, select the “Deploy Current Version” button and you’ll receive a link to your newly minted website. Click on it, and behold, your fully-fledged website is now accessible on the web!
#2 MIXO - Simplifying Website Creation with AI Technology
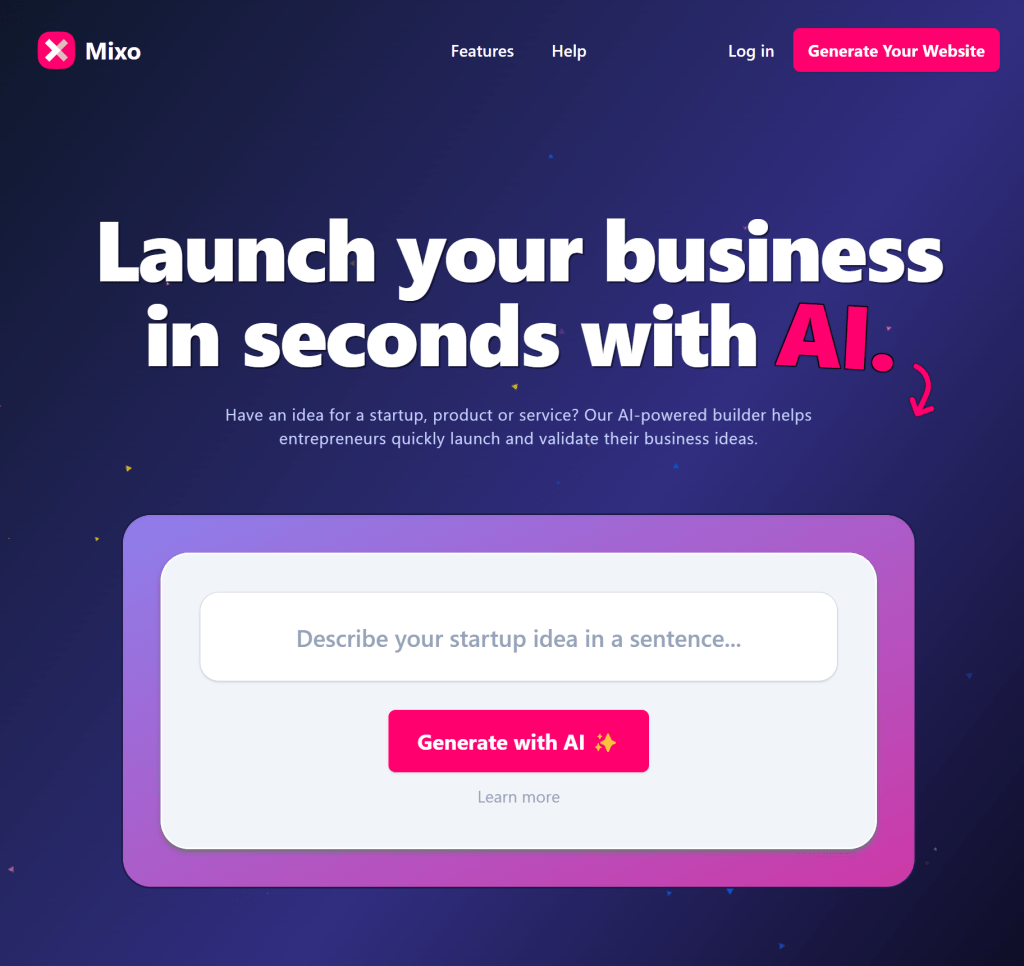
Next on our list of creating a website in minutes using AI is mixo.io.
To get started, visit mixo.io and click ‘Get started for free.’ Here, describe the website you want to create, and then click ‘Generate site.’ Wait for a few seconds, and behold, our AI-generated website will appear.
Impressive, right?
This website exudes class and cleanliness.
Now, you have the option to refresh the images on your site. Click ‘Refresh Image Selection’ on the left to provide a new image for your selected image on your newly built site with AI, allowing you to explore various options.
Once you’ve finished, you can take customization to the next level by clicking ‘Save and customize.’
It will ask you to create an account. You can sign up for free by providing your details. Then, it will take you to the pricing table page, but don’t worry about it. Simply click on the “Continue with just the free plan” link just below the pricing table.
Here, you have a fully-fledged site with tools for editing.
If you wish to alter the site’s title, click on the ‘Hero’ tool on the side panel on the left, select the text in text box under the “Title” label, and input your desired title. Likewise, select the text in text box under the “Subtitle” label to modify the subtitle.
Perhaps you want to change the image in the hero section or any of the sections?
No problem.
Click on the image in the side panel; you can either upload your image or click on the “Unsplash” tab to search and select a suitable replacement.
Lastly, to make your site live on the internet, click on “Publish” in the top right corner. Wait a few moments, and you’ll receive your website link. Click it, and you’ll witness your website in action on the web.
If you decide to change your website’s name, just return to mixo.io, click on your profile modal in the top right corner, select “Pricing,” and explore their pricing options, which include customizable URLs.
#3 10web: The Best AI-Powered Website Builder to Create a Website Using AI in Minutes (Editor’s Choice – SM90)
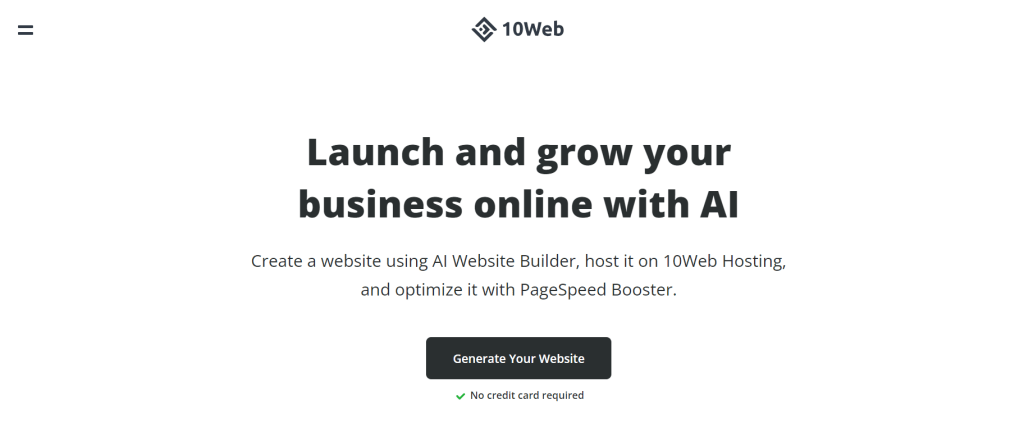
Discover how 10web, a leading AI website builder, is changing the game with its GPT-based AI website builder.
You can not only effortlessly build, publish, and design your website using AI within minutes, but you can also access AI-generated content and images.
All it takes is answering a few questions about your business or work, and witness 10web craft a remarkable website in seconds using AI for you.
With 10web’s AI website builder, you’ll save significant time and money while achieving professional results 10 times faster.
We’ll delve into the key features, starting with the ability to create your entire website with AI, from content to images and pages. The user-friendly drag-and-drop 10web editor empowers you to customize your website to perfection.
Plus, you’ll gain access to over 50 premium widgets. To eliminate confusion, 10web lets you preview your entire website for free before making any final decisions.
No more talking—let’s dive into the step-by-step process of creating your own website with the help of 10web. Get ready to witness the power of AI in website building and embark on a journey to design your dream website in minutes.
In this step-by-step guide, we’ll walk you through the process of creating a website using 10Web’s AI-powered builder. It’s a game-changer, allowing you to have a fully functional website up and running in no time.
Let’s dive right in:
Step 1: Getting Started with 10Web
1.1 Visit 10web.io
To begin your website-building journey, visit 10web.io, the home of 10Web’s powerful AI website builder.
1.2 Create Your Account
Click on “Get started for free” and proceed to create your own account.
Step 2: Providing Initial Information
2.1 Answer a Few Questions
Once you’ve signed up, 10Web will ask you some essential questions to understand your requirements better.
“How would you best describe yourself?” (e.g., Freelancer, Business Owner)
“How many websites do you manage?” (e.g., One, Multiple)
“What do you want to do?” Choose “Create a new website with AI.”
Step 3: Defining Your Website
3.1 Choose Your Business Type
Select the category that best represents your business type. For instance, if you run a digital agency, pick that option.
3.2 Design and Structure
Now, it’s time to decide how you want your website to look. 10Web offers various design options to choose from. Scroll through and select the one that suits your vision.
3.3 Name Your Site
Create a name for your website. Whether it’s a unique brand name like “SocialMarketing90” or your personal name like “Jack” the choice is yours.
3.4 Describe Your Company
Provide a brief description of your company or yourself.
Step 4: Defining Your Services
4.1 List Your Services
Specify the services you offer, such as “Website Development,” “Content Writing,” and “Social Media Marketing.”
Step 5: Customizing Your Website
5.1 Tone of Voice
Select the tone of voice for your website content. Choose between formal and informal, depending on your preference.
Step 6: Let the AI Work Its Magic
6.1 Website Creation
Sit back and relax as 10Web’s AI takes over. It will:
- Generate website content
- Create different pages
- Design images
- Set up the layout
- Ensure mobile-friendliness
Step 7: Review and Edit
7.1 Personalize Your Website
Once your website is ready, review and edit the content to make it uniquely yours. Update text, logos, and other elements to reflect your brand identity.
Step 8: Exploring 10Web Plans
8.1 Choose a Plan
10Web offers a range of plans, including a free trial. Select the plan that suits your needs. Monthly and annual options are available, making it affordable for everyone.
Step 9: Try 10Web Pro for 7 Days
9.1 Free Trial
You can try 10Web Pro for seven days, providing you ample time to explore all customization options.
By following these simple steps, you’ll have a professional website up and running in seconds. 10Web’s AI-powered builder streamlines the process, saving you time and money. Your website will be mobile-friendly and fully functional, ready to impress visitors.
Now, let’s delve into the final step to make your website uniquely yours and start your online journey on the right foot.
Once you’ve signed up and started building your site, 10Web offers you a fantastic opportunity – a 7-day free trial of their 10Web Pro plan. This plan allows you to explore a plethora of customization options and high-performance hosting.
The best part?
You won’t be charged during this trial period, and you can cancel at any time.
To get started with the 10Web Pro free trial, simply enter your card information. Rest assured, you won’t see any charges during these seven days. It’s a risk-free way to experience the full capabilities of 10Web.
Once your trial is activated, and you’re successfully upgraded to the personal plan, you’re ready to take the final steps in crafting your website masterpiece.
Click on ‘Proceed’ to move forward, and you’ll find 10Web configuring high-performance hosting, ensuring your site runs smoothly and efficiently.
Now, it’s time for the magic of customization. Click on ‘Edit Your Website,’ and you’ll be greeted with a comprehensive view of all the pages you’ve included in your website. The power to edit any of these pages is at your fingertips.
When you dive into editing, you’ll be introduced to the Elementor page and the 10Web Builder. These tools are designed to make customization a breeze.
Whether you want to tweak your logo, update images, refine your website structure, or play with global styles, it’s all possible right here in the editor.
Imagine you want to change your logo; with 10Web, it’s just a few clicks away. Adjusting anything to match your vision is effortless. You have control over every aspect, from the layout to the user preferences.
In essence, 10Web provides you with a powerful canvas and an array of tools to paint your unique online presence. You can make your website truly your own, all with the help of the 10Web Pro Builder.
So, if you’re looking to create a website that stands out, engages your audience, and reflects your brand perfectly, 10Web’s AI-powered platform has everything you need. It’s never been easier to bring your website vision to life – sign up, customize, and watch your website thrive with 10Web.
Now, you have a question in your mind what to do after creating a website using AI in seconds? How to bring traffic to your newly made website, and publish more content with no effort?
I will show you the steps to follow after creating a website and how to bring traffic to your website.
How To Get Traffic on a New AI Website
After building your website, here’s a short checklist of key steps:
- Proofread, test, and optimize for mobile.
- Implement SEO strategies.
- Optimize performance and security.
- Plan and create content.
- Set up analytics and monitoring.
- Prepare legal documents (privacy policy, terms).
- Promote on social media and launch.
- Consider monetization if applicable.
- Ensure accessibility and have a maintenance plan.
- Develop a marketing strategy for ongoing promotion.
I’ve given the steps to follow and will discuss these steps in details in another article.
Here, I just want to draw your attention on the step number ‘4. Plan and Create Content’. This step where you can plan to create such content that can attract more traffic to your website. And one of the strategies to bring traffic to your website is to create high quality blog post in your niche.
How To Publish New Articles with AI in Seconds
So, I’ve included two Best AI Writers For Blogs. While here you find our full list.
Pick 1 - Auto Blogging AI
The Best AI Writer for Your Blogs

Looking for the Best AI Writer for Your Blogs?
Auto Blogging AI, our number 1 pick, simplifies content creation for bloggers using AI. It leverages natural language processing and machine learning to produce unique, SEO-friendly content swiftly. It also analyzes existing content for SEO improvements.
This tool combines GPT-3.5 and GPT-4 models, offering exceptional articles, bulk content creation, Amazon product reviews, and WordPress integration. Auto Blogging AI is a valuable asset for bloggers, marketers, and website owners looking to streamline content creation. In summary, it’s an excellent choice for bloggers aiming to streamline their writing process and produce high-quality content effortlessly. There are further more AI Writing tools are available in market, however, this tool fullfill our tasks!
Some standout features of Auto Blogging AI include:
- Bulk content generation
- Raw AI outputs available in 11 languages
- A mix of OpenAI’s GPT-3.5 and GPT-4 models
- An advanced “Godlike” mode for SEO optimization
- Image generation
- Frequently Asked Questions (FAQs)
- Schema markup
- Title and meta description generator
- Amazon product reviews
- Auto posting to WordPress
Give Auto Blogging AI a try and experience the future of content creation today!
Pick 2- WriteSonic AI
The Best Overall AI Writer
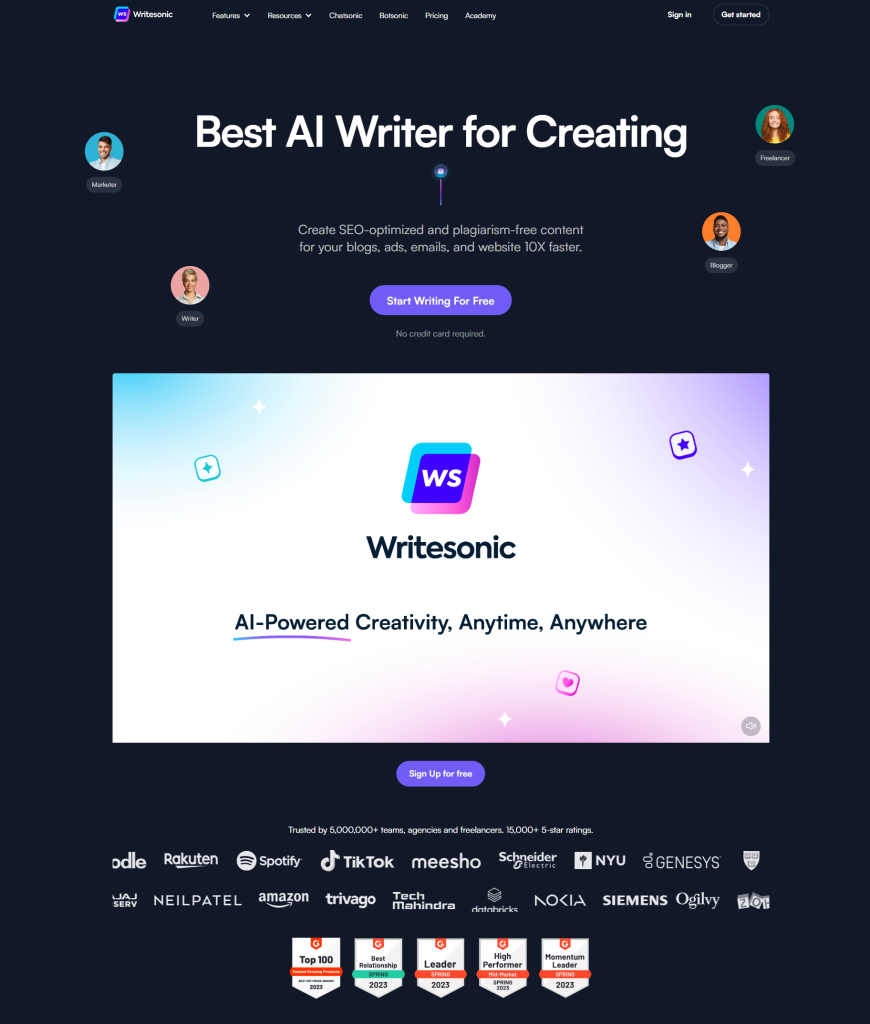
WriteSonic is the top AI writing tool today, known for its versatility in generating various content types effortlessly. It’s a go-to choice for marketers, writers, and content creators due to its seamless integration with Surfer SEO, making it ideal for optimizing content for search engines. With robust AI technology and user-friendly features, WriteSonic is the ultimate AI writing tool.
Notable features of Write Sonic include:
- Long-form content generation
- Pre-planned content with up to 10,000 words
- Auto-generated unique images
- Chat Sonic and PhotoSonic capabilities
- Seamless integration with WordPress and Zapier
- Customizable pricing plans
- Content rephrasing and expansion options
- Copywriting formulas
- Surfer SEO integration for valuable keyword data
Whether you need to create extensive content, optimize for SEO, or boost your click-through rates, Write Sonic has the tools to help you excel. Explore the future of AI-driven writing with Write Sonic. Check our complete review about Writesonic in SM90.
Conclusion

In conclusion, website creation has been significantly changed thanks to Artificial Intelligence technology. No longer do you need to struggle with complex code and intricate design.
Now, tools like Codedesign.ai, MIXO.IO, and 10web have made it possible for anyone, even without coding skills, to create stunning websites in just a matter of minutes.
These AI-powered builders offer remarkable flexibility, allowing users to effortlessly customize content and visuals to their liking. What’s even better is that many of these tools provide free options, making website creation more accessible than ever before.
However, the journey doesn’t stop at website creation. After building your site, there are crucial steps to follow, such as proofreading, optimizing for SEO, promoting your site on social media, and planning for ongoing maintenance.
Moreover, if you require high-quality content, AI writers like Auto Blogging AI and Write Sonic offer efficient solutions for generating blog posts and various other content types.
These tools harness advanced AI technology to simplify content creation and even enhance it for better search engine performance.
In a world where technology continues to simplify and improve our lives, AI-powered website builders and content generators are empowering individuals and businesses to realize their online aspirations with greater ease than ever before.
So, if you’re ready to venture into the digital realm, explore these AI-powered tools and embrace the future of website creation and content generation.