Introduction
Just imagine that you have a YouTube channel where all the videos are made using AI technology. And the fun part is that these videos aren’t just engaging and getting more views, but they are also getting positive feedback and monetize.
Recently I have found many YouTube channels that post a lot of AI generated videos. They share fun facts, tips, and useful information with an AI yet human-sounding voice-over, stock footage, and smooth editing.
What’s special is that these videos are made entirely using AI. This works well for AI because these videos are short and don’t need original footage or a lot of time to create.
So, in this article, I’ll guide you through how to create your videos using AI tools. You’ll see that AI can help with every step, from generating ideas to writing scripts and creating visuals.
It’s pretty amazing, right? So, relax, and let’s start this exciting journey.
Before we begin, there are three main things we’re going to do to generate videos using AI tools.
First, it’s crucial to communicate effectively with them. If you can’t explain your needs in a way that the AI tool understands, your output may not meet your expectations. We’ll discuss the language to use to make AI work for us.
Second, we’ll use ChatGPT and a tool called WriteSonic, which is essentially ChatGPT optimized for video content and with updated information. We’ll start with WriteSonic to brainstorm and generate attention-grabbing video ideas, titles for the video, scripts, video descriptions, SEO tags, and even hashtags.
I will also mention another great alternative to the above tools, Jasper.
Jasper.ai helps you create videos faster by providing scripts, titles, and SEO-friendly descriptions, but on the other side it can be quite expensive. So while it saves time and write scripts, keep in mind the cost.
Third, we’ll use the content produced by WriteSonic in a video generation tool. I’m going to show you a quick step-by-step process of creating videos using three different tools called Pictory, Fliki, and Wave.video.
I’ll also assess the usability, features, and the quality of videos these tools generate and provide feedback to help you make an informed decision about which tool to choose.
And, we’ll also see some extra AI tools that you can integrate during your AI video production workflow, to make them even more unique.
Generate A Video Script with AI
For this, we will obviously just use AI.
To make an example, by leveraging AI and the right tools, you can generate 5 unique video scripts in just 15 minutes! So, let’s see this process step by step.
Get a Topic Idea

Creating a video begins with generating topic ideas. If you already have a video concept in mind, you can proceed to the next step.
However, if you’re open to exploring new ideas, keep reading. We’ll use an AI tool called WriteSonic to assist us in brainstorming video concepts. Here’s how to get started:
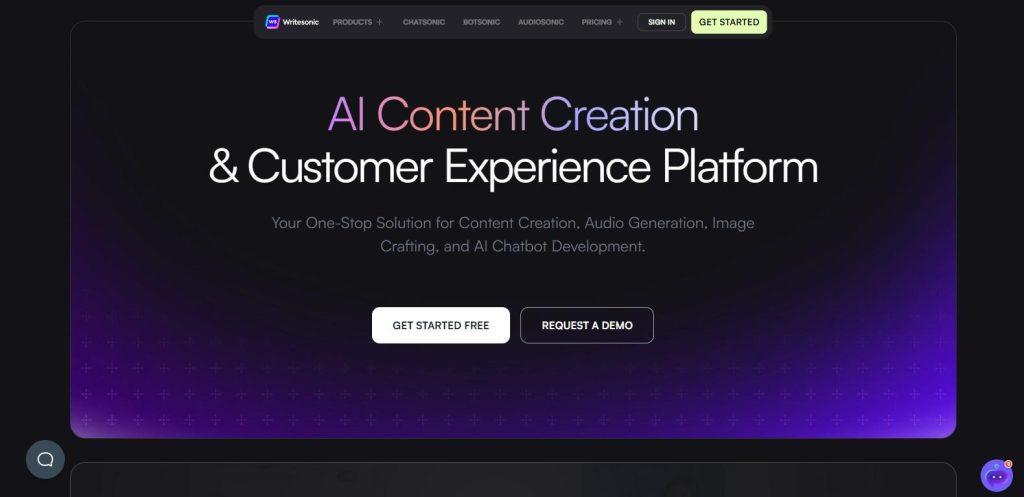
- Go to https://writesonic.com/
- Start by clicking “Get started for Free.”
- Enter your full name, business email, and choose whether you want to sign up with OTP, a password, or SSO (Single Sign-On).
- Click “Create Account.” Alternatively, you can sign up using your Google email account.
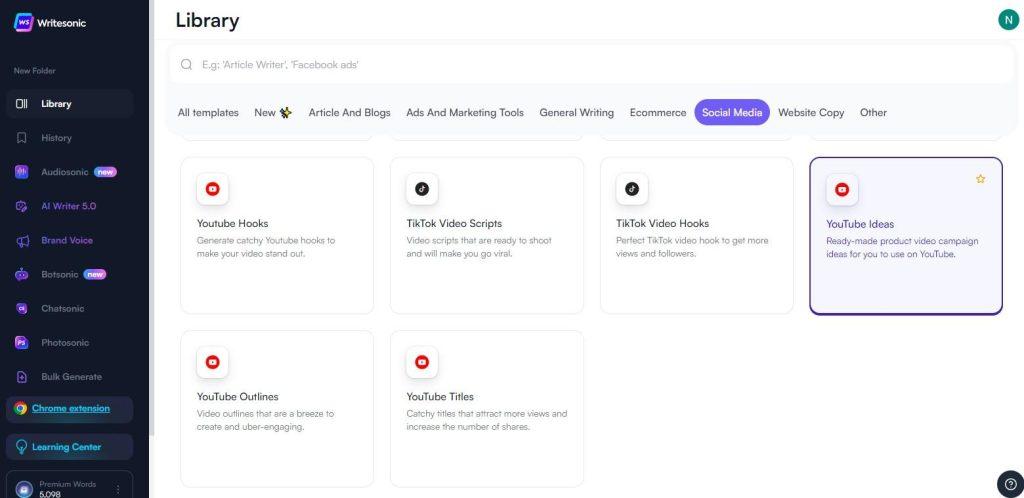
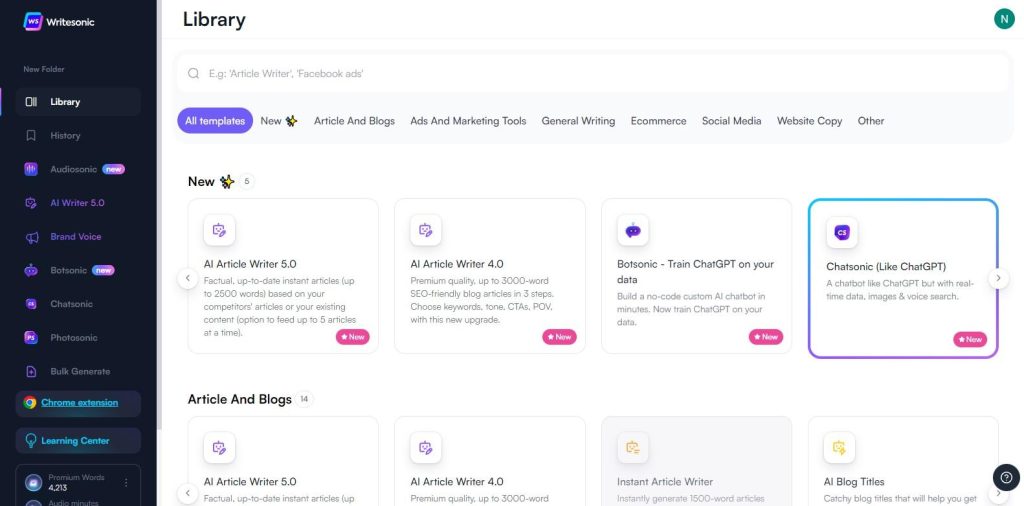
- After successfully logging in, navigate to the “Social Media” tab in the menu. Here, you’ll discover various tools for creating social media content. Click on “YouTube Video Ideas.”
On the following page:
- Enter the desired name for the document you wish to save in the “Untitled Document” text box.
- To generate ideas, describe the focus of your channel. If you don’t have a channel yet, you can enter keywords related to your intended topic. For example, if I’m interested in fitness, I’d type “Fitness” in the “Video Topic” field.
- In the “Search Term” section, add terms that potential viewers might search for on YouTube.
- Select the preferred “Tone of Voice,” “Language,” and “Quality Type.”
- Finally, click “Generate.”
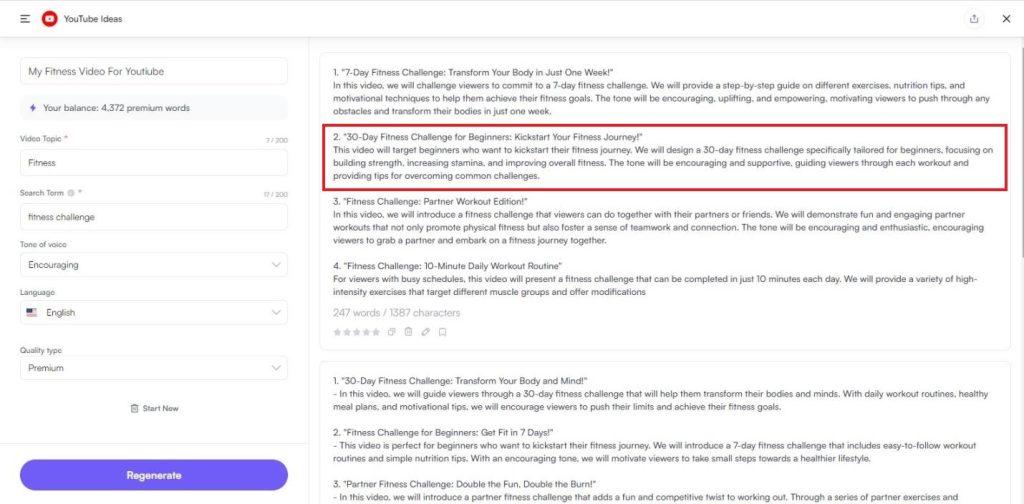
You’ll receive a selection of ideas to choose from. I’ll select the one with red box in the above image. With an idea in hand, the next step is to create a compelling title for your video.
Create an Attractive Title
The result you get for the topic ideas it will also generate title for the topic. But if you don’t like this title, or if you want a more attractive title, you need to come to this step.
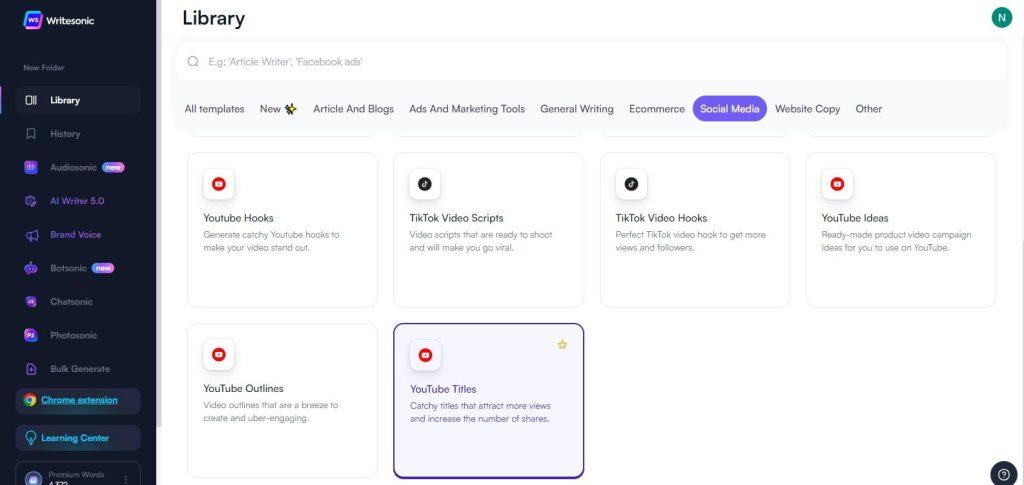
To do that, there’s a tool in Writesonic that generates different title ideas specifically for youtube videos. So, let’s try that out. First, I’m going to copy the idea that I have selected, then go back to dashboard >> click on “Social Media” tab >> click “YouTube Titles“.
Now paste the copied topic idea in the “Video Description” box, follow all the steps that I have already covered in the “Get Topic Ideas” step and click “Generate.”
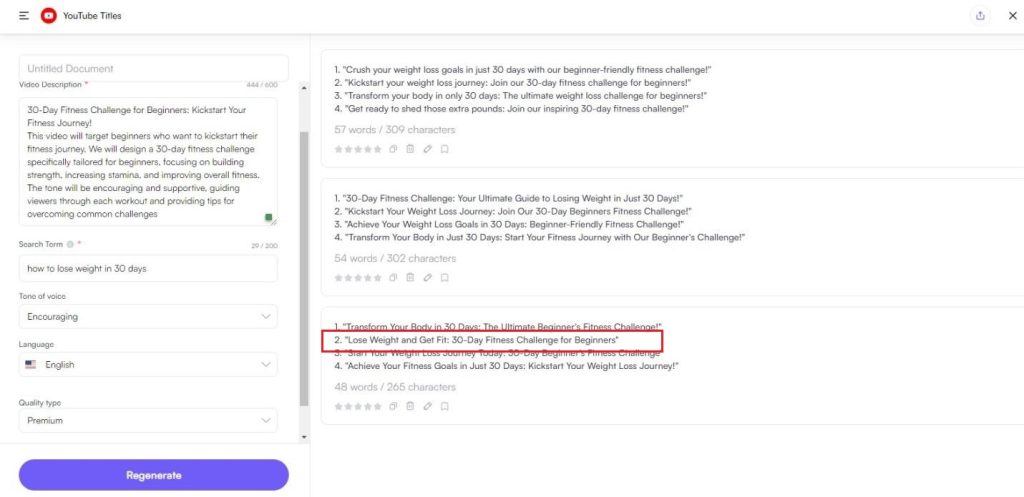
We’ve got different titles on which we can make our video, interesting, right?
Alright, you can go through and select the title you want. I’m going to select and copy this one, which I highlighted in the red box above.
Create the Script for Your Video
Now, let’s move on to the next step, creating a script for our video. Once we have the script, we’ll use it to generate our visuals and audio.
To do this, we’ll use a tool called ChatSonic within Writesonic. ChatSonic is chabot like ChatGPT, but it can provide real-time data, respond to voice searches, and even incorporate images into the script.
The best feature is, of course, the fact that it does a fresh Google search before writing content, which ensures that the script is accurate and with the latest information.
To get started, follow these steps:
Begin by copying the title and the brief description of the topic that you already have.
Next, navigate to the dashboard, and click on “ChatSonic.”
Write a prompt in this format: “Write a script for a YouTube video on the following topic:” and then paste the title and topic description that you copied earlier into the text box. Press “Enter.”
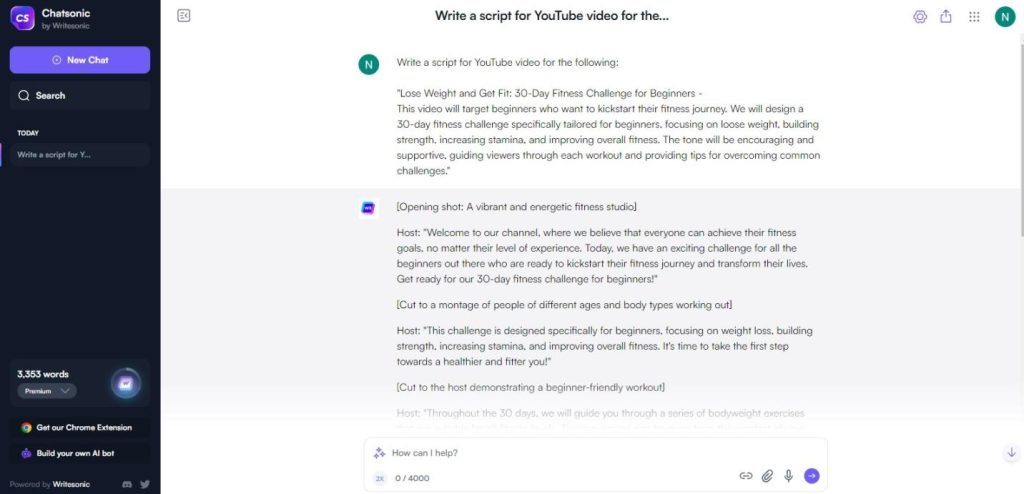
You’ll notice that we’ve obtained a complete script for our video. If you want to make any changes or additions, feel free to copy the text and edit it by pasting it into any document editor.
Once you’re satisfied with the script, let’s move on to the next step, which is creating the video using AI tools.
Create a Video Using Your Script and AI
Now that we have a script (or a bunch of them) we can use them to generate a video. And again, we will just use AI for that. We will use AI tools that are able to fully edit a video independently, while crafting quality videos.
To do that, we’re going to use a tool called Pictory.ai, which is my favorite pick on the market.
Pictory is like a smart video maker. It turns your texts, scripts or articles, into exciting videos. It can even work with your images and other stuff. So, you don’t need to worry about making videos from scratch. It’s like magic for your content!
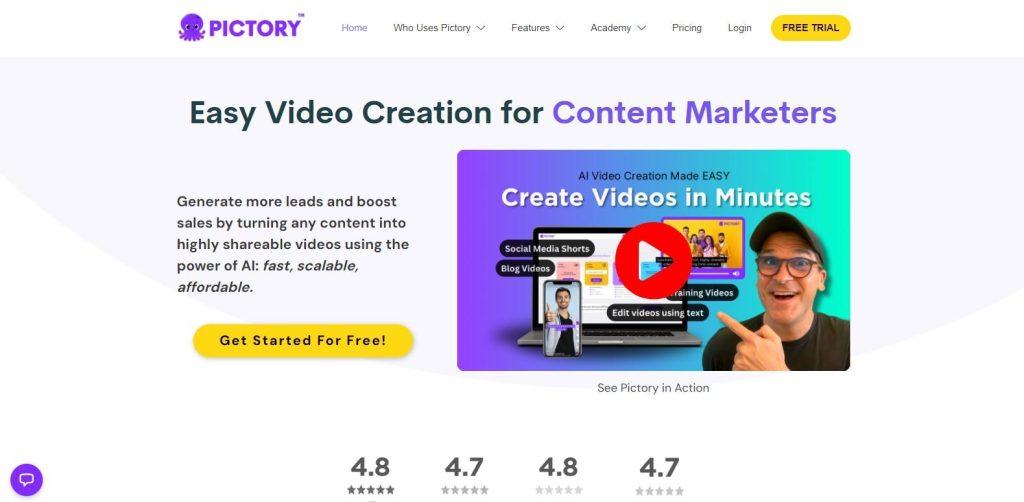
This tool lets you create an entire video with visuals and a voiceover just with a script alone. I’ve given the link in this article before, so just click it to get started, and then sign up.
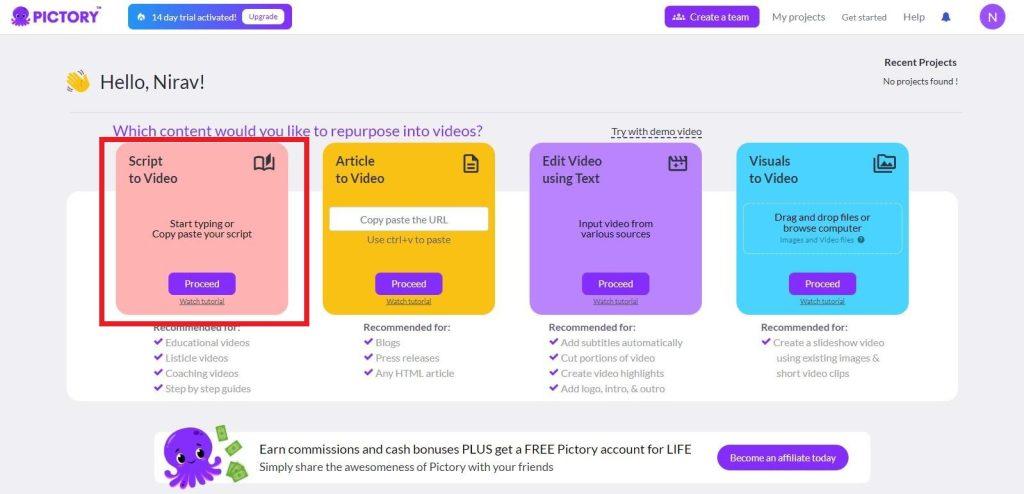
Since we’re creating a video from the script, click “Proceed” in the pink box with the title “Script to Video”.
Here, we need to enter the script for our video. So, let’s go back to Writesonic, copy the script, then paste it here, and click “Proceed.”
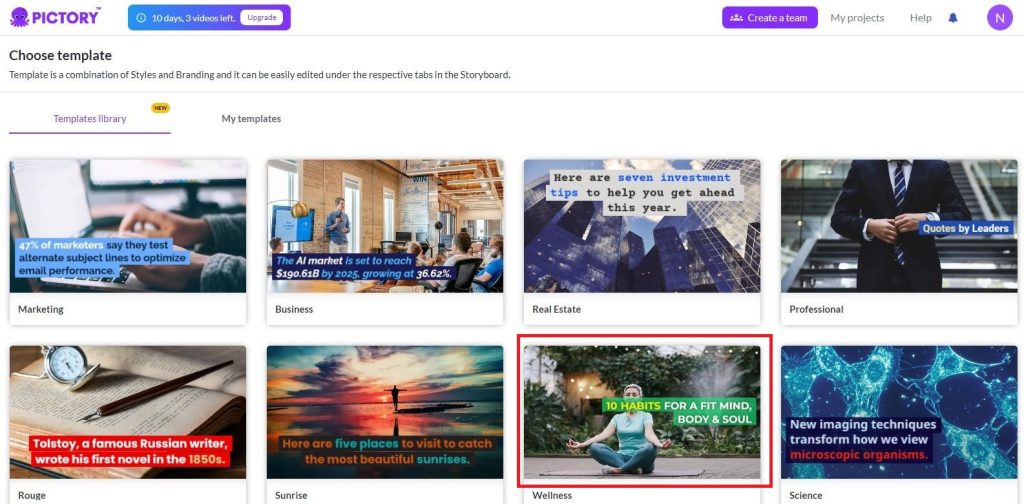
It will ask you to select a style for your video. You can select the one you like. I’m going to choose the “Wellness” one. Select Ratio [16:9], [9:16] or [1:1] as per your requirements. I select [16:9] as I am making a video for YouTube using this AI tool.
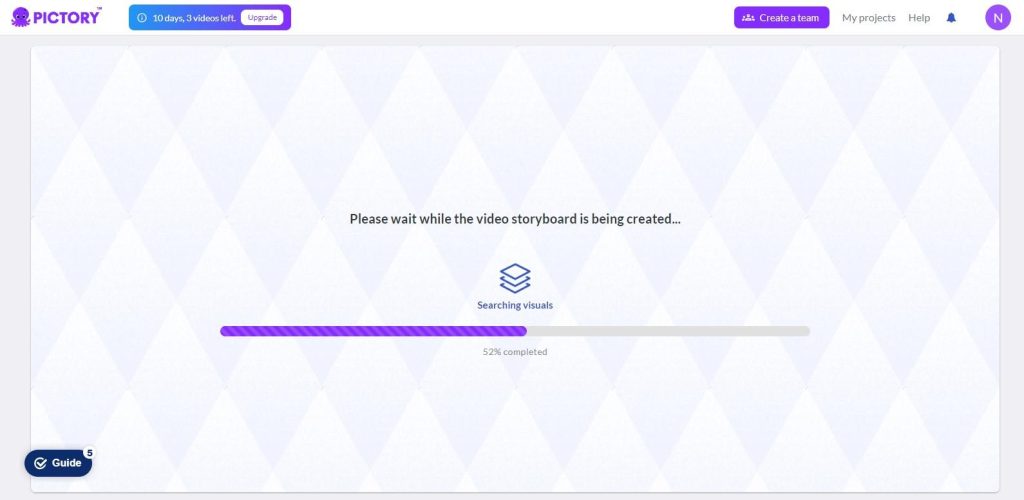
As you can see, it’s processing our video, and once it’s done, you can see it has automatically created a video from our script.
Now, if you’re happy with the output, you can proceed to the next step, or you can make changes to this video too.
Next, let’s see how you can edit the video. Here you can see we have different tools, and it has broken down the script into different scenes. You can select the scene you want and make your edits.
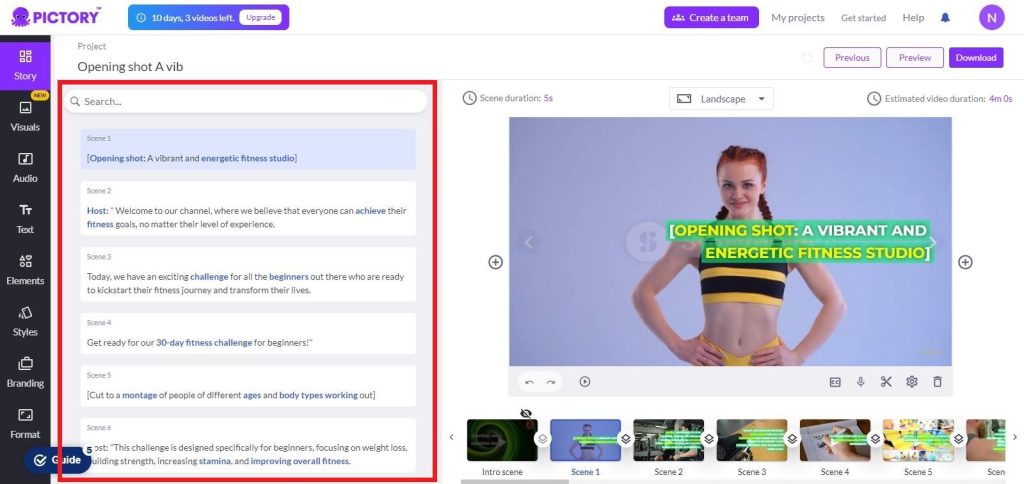
Let’s say you want to change the text for this scene. Just click and select the text you want to edit and simply start editing in the text editor. Similarly, if you want change the scene just go to “Visual” tab and select any scene you like. You can also upload your own footage using “My Uploads” option.
There are places where you can find free stock footage like Pexels, Pixabay, etc. Now, as you know, we don’t have any voiceover in our video right now. What if you want to add it to make our video sound better?
Adding a Voice-Over
This tool also lets you add an automatic voiceover to the script.
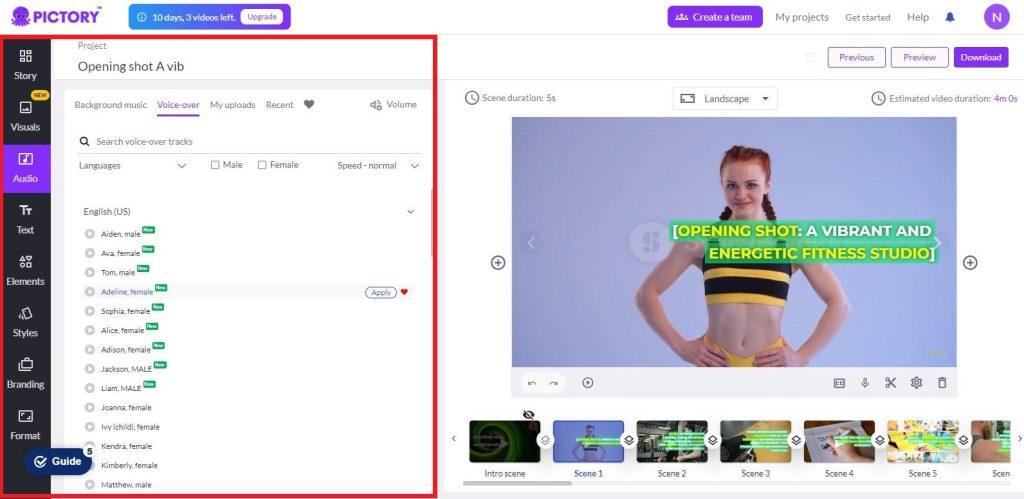
To do that, go to ‘Audio’ and click ‘Voiceover.’ You’ll find different voices there. You can play and pick the one you like and click on “Apply” to use it.
Quick Note: Pictory features a large library of free AI voices, however, most of them sound slightly robotic. Nowadays, you can find AI voices which don’t “sound AI” at all and emulate a human flawlessly. While this may add-up the cost for an extra dedicated tool, considering checking out our list of the best AI text-to-speech tools.
Editing the Background Music
Similarly, you go to the Background Music tab and choose the background music from the available options as you like; you also have option to upload your own Music by going to “My Uploads” tab.
Quick Note: Many AI video editors like this one have their free music libraries, but if you still want unique AI-made music. Here are three AI tools that I recommend to check once.
Mubert: It blends tech and creativity, letting you make unique soundtracks. You can personalize music, sell AI tracks, and create playlists.
Aiva: Dating back to 2016, Aiva makes music for ads, games, and movies. It’s user-friendly, great for pros and beginners.
Beatoven: It’s simple and accessible for all skill levels. No need for music expertise.
Download the AI-generated Video!
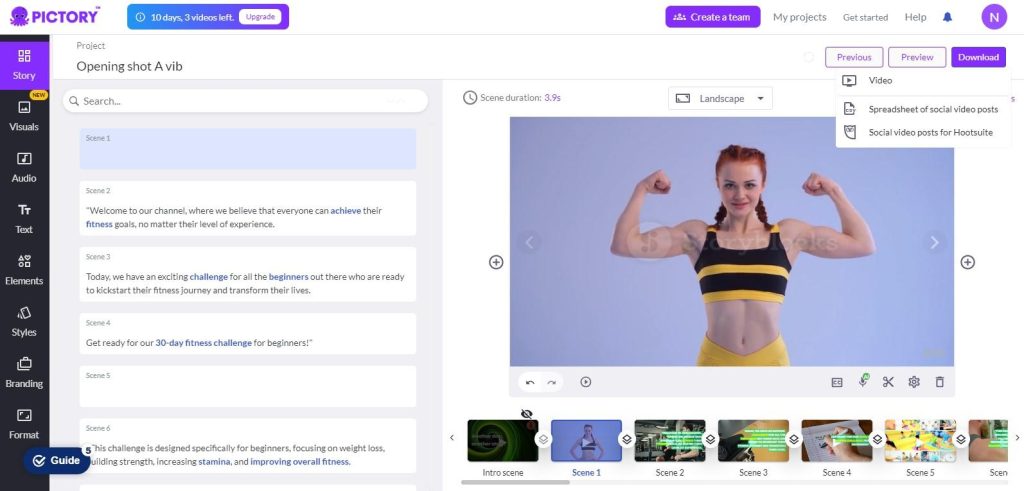
Now, the video is ready for download. Just click ‘Download,’ select “Video”, and it will process your request. You’ll see the downloaded video below.
So, we’ve used the first option “Script to Video” of Pictory.ai here. There are three more options that we can use to make video using this AI tool.
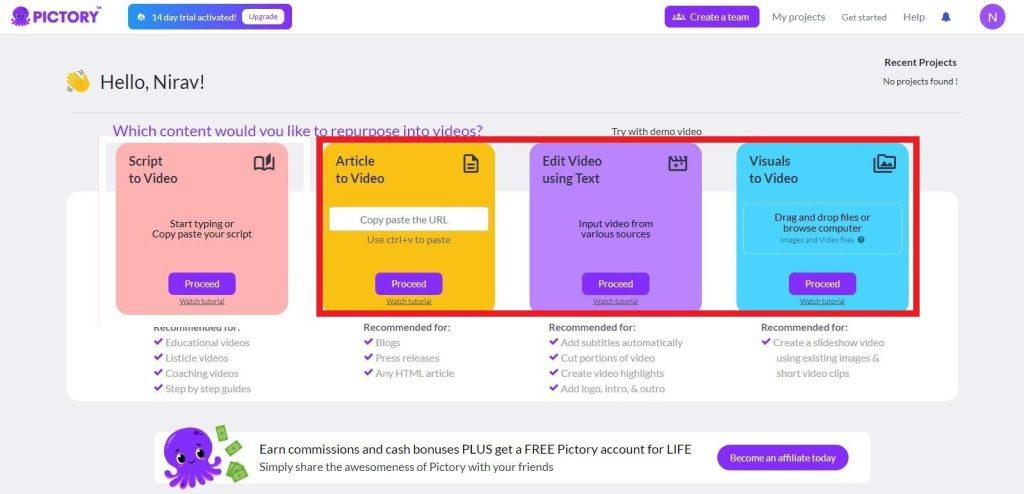
- Article to Video: Article to Video simplifies the process of turning written articles into video content.
- Edit Videos Using Text: This feature is handy if you want to edit existing videos or create short clips from longer ones.
- Visuals to Video: With Visuals to Video, you can turn your collection of photos and media into a customized video
I’d like you to explore other options within this AI tool to create different videos and share your experience by leaving a comment on this post. Someone else from the Socialmarketing90 team also previously wrote an in-depth Pictory review and description. In case you want to check it out, here is the link.
Let’s see some Pros and Cons for Pictory.ai
PROS
- Free to Use
- You have an opportunity to earn money via your videos easily
- User-friendly
- Easy to share the content
- Baclinks are generated
- Could also get traffic from YouTube
- Fast loading
CONS
- Watermark on Free Plan: If you use the free trial, there's a watermark on your videos, which might not be good for professional or business use. To get rid of it, you need to pay.
- AI Mistakes: Sometimes, Pictory's smart tech might not choose the perfect pictures or music for your video.
Pictory is a user-friendly AI video generator that makes creating captivating videos a breeze. It comes packed with various features to cater to different content needs, from turning scripts into videos to tweaking existing ones.
So, if you’re excited to jump into video creation without being a video editing pro, give Pictory a try. Start your video creation journey by signing up for Pictory!
Create a Video Using AI tool “Fliki”
Introducing the second tool you can use to generate videos with AI. I personally think this tool is better for short-form types of videos, such as YouTube shorts or TikTok videos.
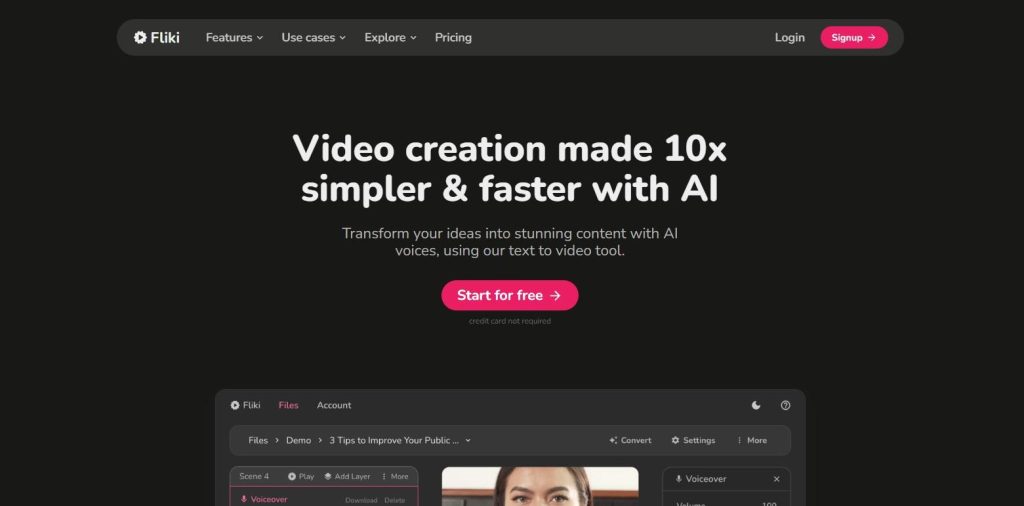
What's Fliki?
Fliki.ai is an incredible text-to-speech AI and text-to-video AI that turns written words into spoken words, as well as videos.
This AI tool can help you create videos, add depth to your content, and assist in crafting snappy YouTube videos about your projects. It’s like having your own digital narrator and editor, thanks to artificial intelligence.
Getting started with Fliki is easy! Here's how:
- Sign Up: Start by creating your Fliki account. The good news is there is a free option, so you can explore Fliki without paying.
- Check Your Dashboard: After you log in, your dashboard will show options to make new files. You can also look at sample videos and audio to see how Fliki works.
- Try Samples: Fliki has sample videos and audio that show what it can do. Just click play to listen to different voices and audio bits.
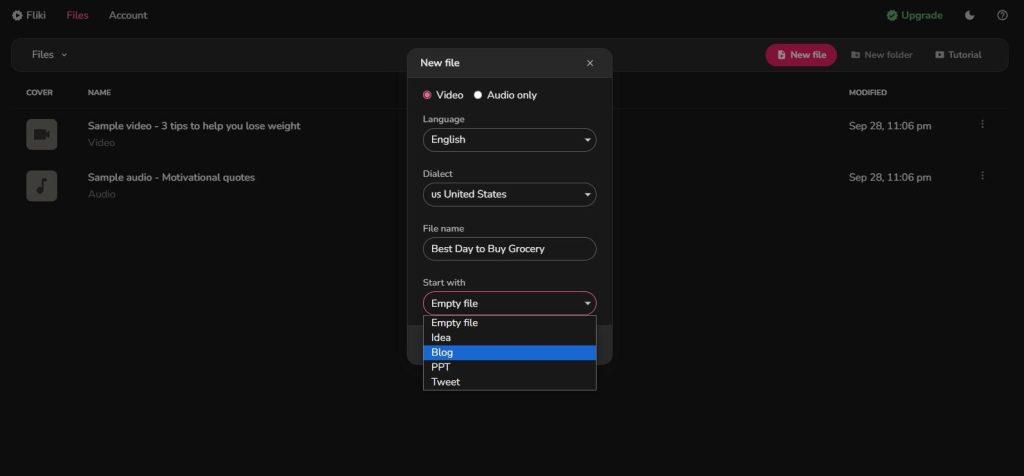
- Make Your Video: To turn your text into a video, click “New file,” name your project, pick a language, pick your prefer dialect, give a name to your file, and then select your favorite option from the Start with list.
I will select “Blog” here, as I want to make a video of one of my blog posts that I have written for my personal website. Of course, if you use this feature you can use any article on the internet, not necessarily yours.
Then, click on the “Submit” button. This will bring you to the page in the screenshot below, where you simply need to paste the URL of your blog post in the text box and click submit.
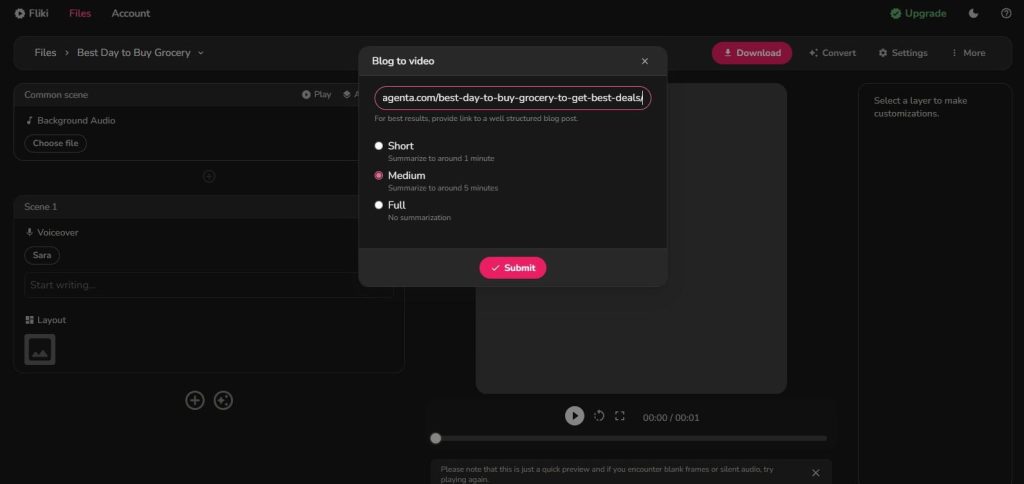
After some time, it will generate a video for you, and it also automatically adds the background footage for your video, as well as captions. Once your video is complete, you can edit it. Let me show you how.
Whatever you want to edit in your video, just bring your cursor to that and click on it. For example if you want to change the background music, simply go to the “Background Audio” section and click on the name of the current audio just below the “Background Audio” heading.
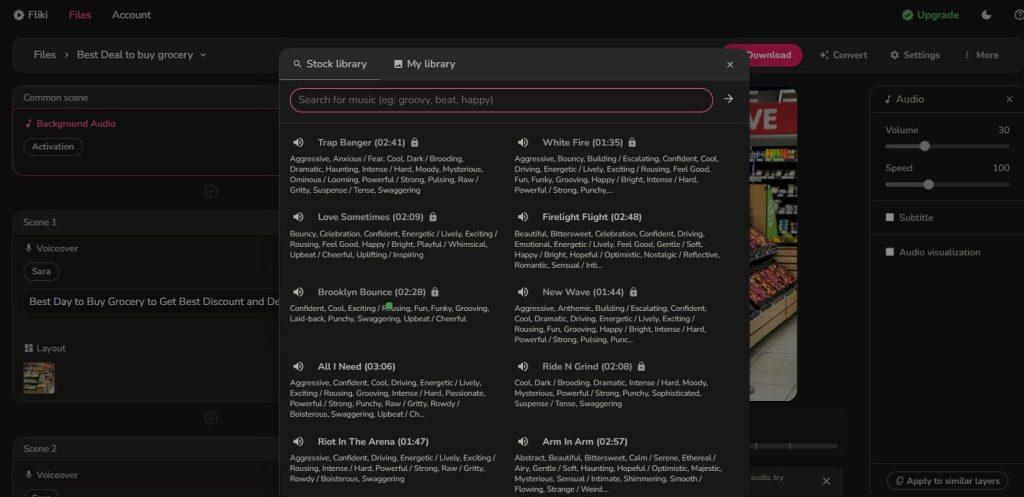
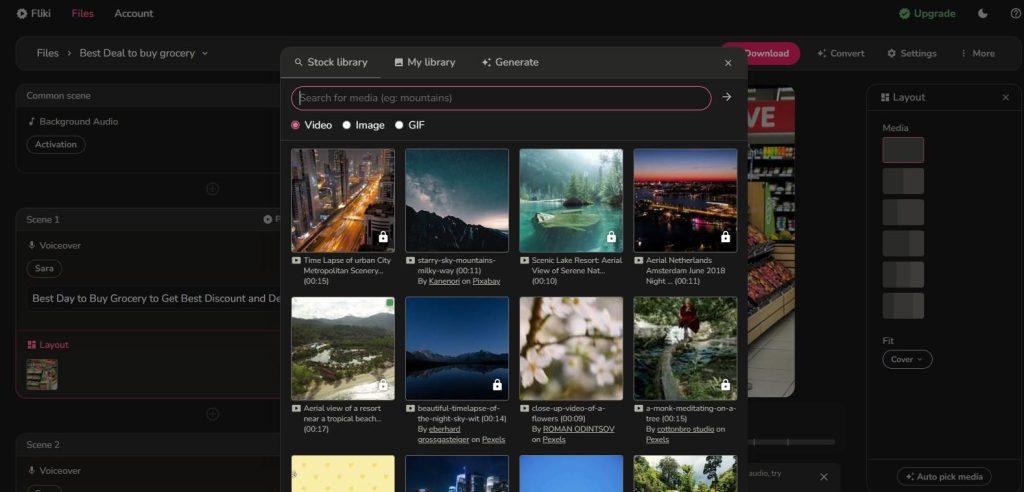
You will get bunch of audios to select from. Fliki has huge library for background music. Similarly, you can check and change “Voiceover” and “Visuals” like video footage or images from the Fliki library.
Of course, you can also upload your own image from your computer! Another suitable option I found here that you can even generate your image using AI here itself. This ensures that the generated image is 100% unique, and not previously used on the web.
As per Pictory, you can consider external tools for custom AI music or AI voiceovers; however, I believe that Fliki has a bunch of voices which already sound very close to an actual human.
5. Make Your Video Special: Choose the video format you want, like square for Instagram, portrait for TikTok, or landscape for YouTube. To achieve this, just click on the “Settings” on top-right corner.

Here, you can select options like whether you want “Audio only” or “Video”, and you can also increase or decrease timing between two scenes. I personally like to reduce time between scenes, as this makes the video faster and more engaging to watch.
There, you can also select the “Aspect Ratio” as per your requirement. I have selected “Square (1:1)” as I am making a video for Instagram.
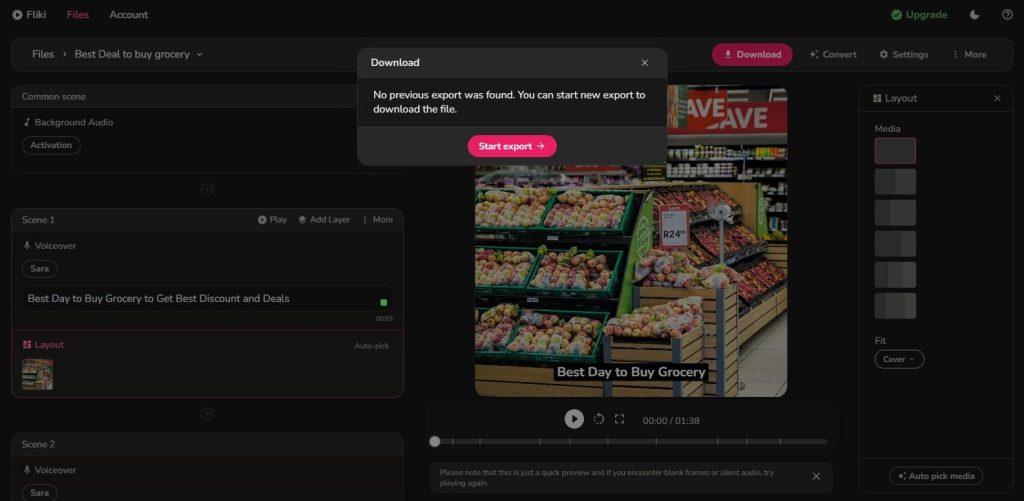
6. Get Your Video: Once everything’s set, click “Export” to make your video. They’ll email you when it’s ready to download; it will usually take just a few minutes.
Below, the video which I generated with the help of Fliki’s AI.
Now Let’s Check Some Pros and Cons of Fliki.
PROS
- Multilingual Magic: Fliki speaks over 75 languages, making it a breeze for users from all corners of the world.
- Voice Variety: Fliki offers a bunch of AI voices for you to choose from, letting you pick the perfect tone and style for your videos.
- Unique AI Flair: Fliki's AI can mimic voices and create different accents and emotions, giving your content a personalized touch.
- Super Simple: Fliki is designed to be user-friendly, so even if you've never used an AI tool before, you can create pro-level content.
- Versatile Creations: Whether it's blog posts, tweets, or regular text content, you can transform it all into engaging videos with Fliki.
- Top-Notch Support: Fliki's support team is known for being super helpful and always there to assist users.
CONS
- Credit Limits: For heavy users, Fliki's global credit limits might feel a bit tight unless you're on the Premium plan.
- Voice Quirks: While Fliki offers plenty of voices, not all of them sound equally impressive. Some voices might come off as a tad robotic or unnatural.
Is Fliki worth it?
Yes! It’s great for people who want to make short-form videos for social media’s, such as TikTok, Instagram and Shorts. But, it can also make long-form YouTube videos, podcasts, or audiobooks. It’s easy to use, and you can pick a plan that fits your budget.
Want to make a video using AI, in seconds? Fliki can help with that. And what do you think of Fliki? Is it worth your time and money? Tell us in the comments.
Producing videos using the AI tool Wave.video
A third option you can use to make quality videos with AI, fast, is Wave.video.
Wave.video is a versatile video editing platform that simplifies the process of creating compelling videos. Whether you’re a content creator, marketer, or business owner, this tool offers a wide range of features to bring your video concepts to life.
Let’s take a closer look at what makes Wave.video great. Its intuitive user interface and robust set of AI-powered tools make video creation accessible to anyone.
Now, let see how we can create videos using this tool.
Creating a Video Using Wave.video
Sign Up on Wave.video: To begin, visit the Wave website and sign up using your credentials. Once you register, log in to your account. The website provides a straightforward and user-friendly dashboard.
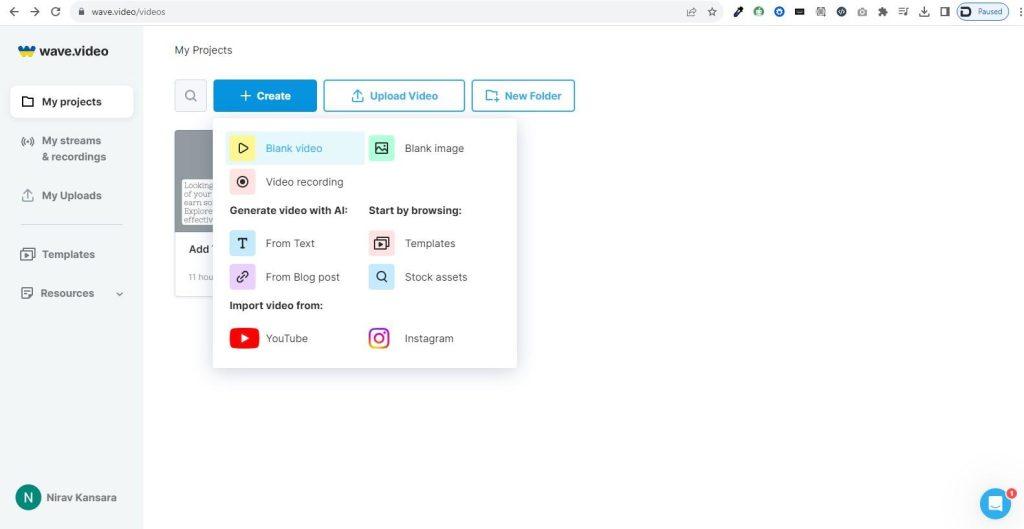
Access the “Create” Button: Just click on “Create,” and you can choose what you want to do. I’ll guide you on creating a blank video from scratch. Click on it, and now select your video format. If it’s for YouTube, go for horizontal. For YouTube shorts, Instagram stories, Instagram reels, or TikTok, choose a vertical format.
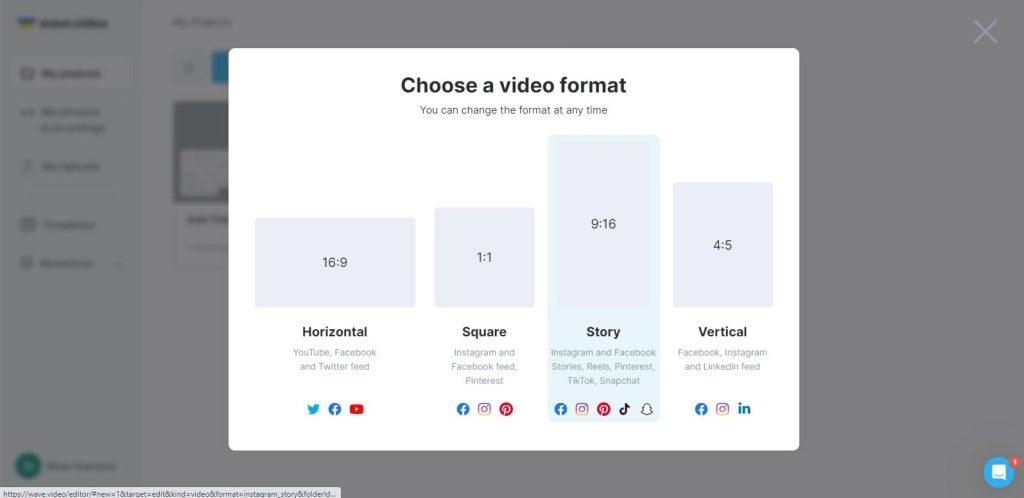
I’m choosing the (9:16) “Story” format because I’ll demonstrate how to create a vertical video, like the one you’d use for a TikTok video or a YouTube Shorts.
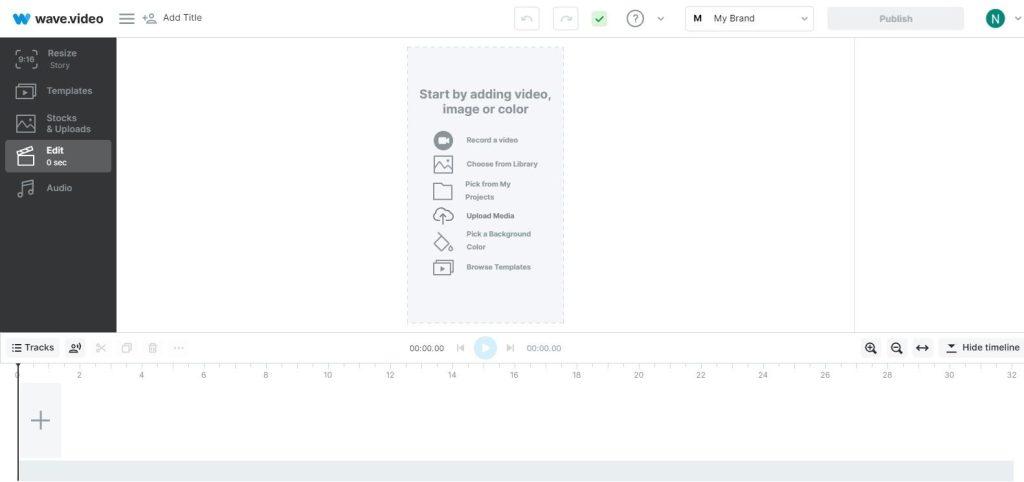
So basically, we’ll come to our editor page, and as you can see, the first step we need to do is just to add our media.
We’ve got a few choices: we can pick from any of these options such as upload your own media, or explore the template library. Wave.video’s templates are ready-made video designs to kickstart your video creation.
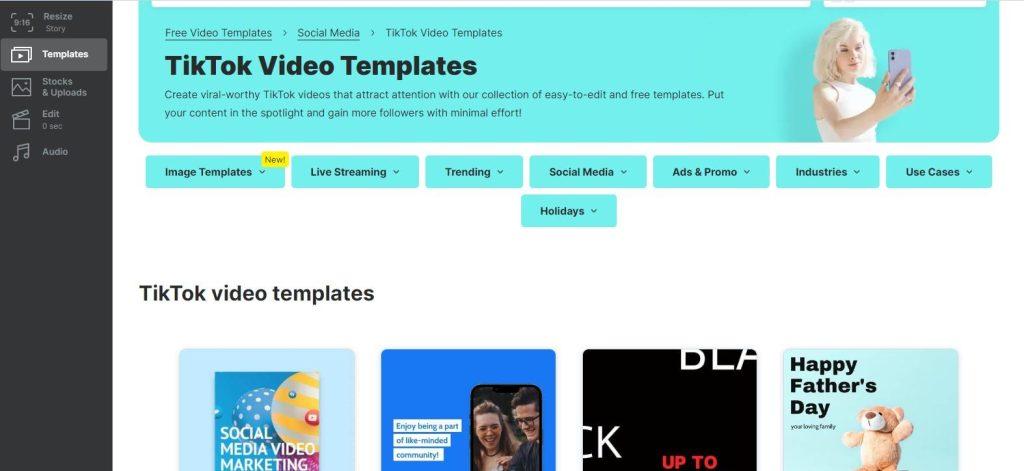
They come in various styles, making it simple to find one that fits your purpose, whether it’s for business, marketing, or personal projects. You can easily customize them with your brand’s colors, fonts, and message, saving you time and giving your videos a consistent look.
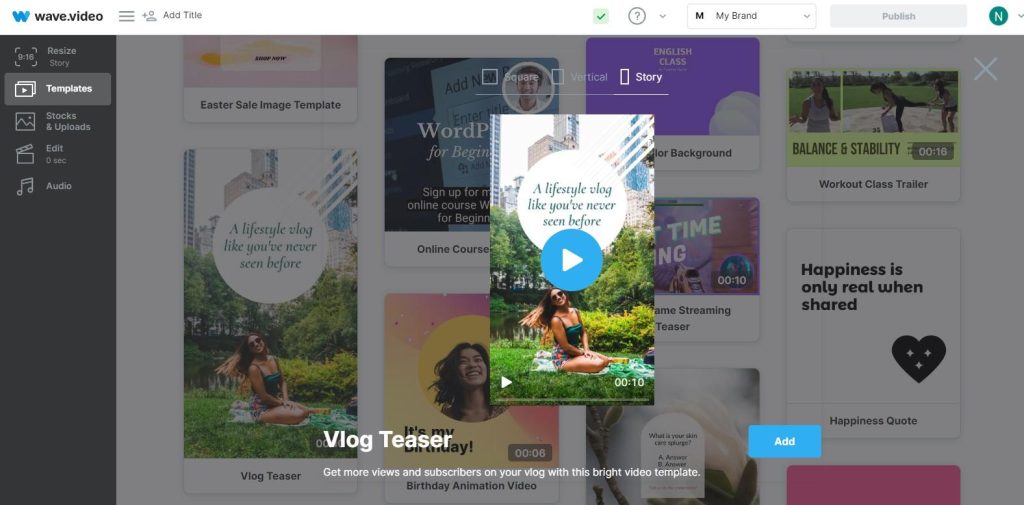
You can pick anything from the template as you like and click on “Add.” I’ve chose this one, as I want to make a Tiktok video.
As you can see below I’ve added two more videos from the video library of wave.video. You add additional videos or images by simply clicking on the “+” sign next to the current video.
Editing and Fine-Tuning
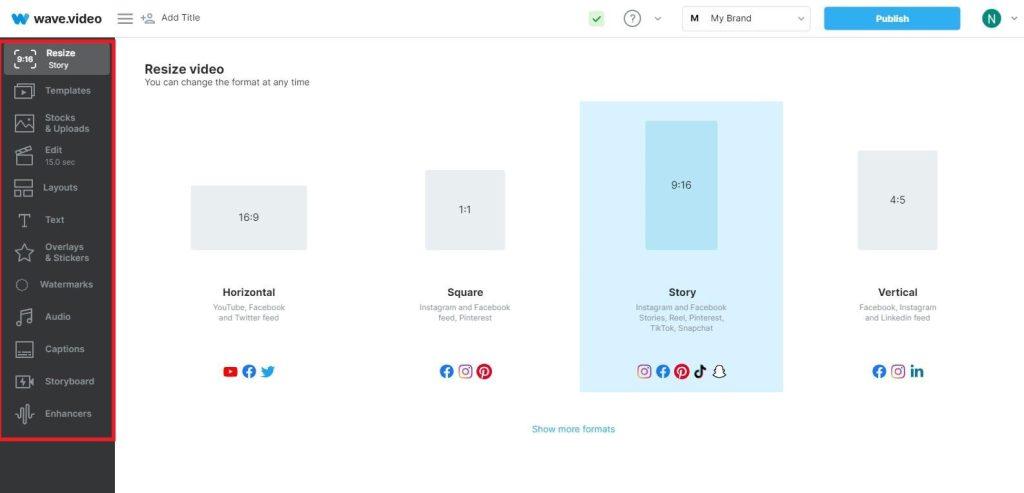
Now, let’s enter the editor. On the left side, you can switch between different sizes, and resize your video entirely.
You also have the option to select various templates or browse stock media, including videos and pictures, to change the way your video looks.
All I’m talking about is on the left-side menu, which includes overlays, stickers, watermarks, audio, and captions. There’s also an option for audio, storyboard, and transitions. This is the basic idea, yet quite powerful as it allows you to edit most of your video’s features.
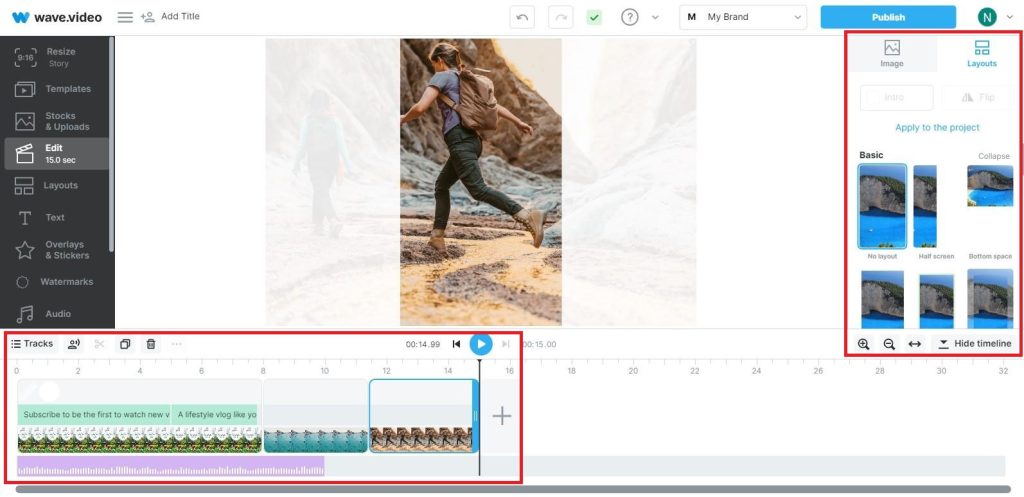
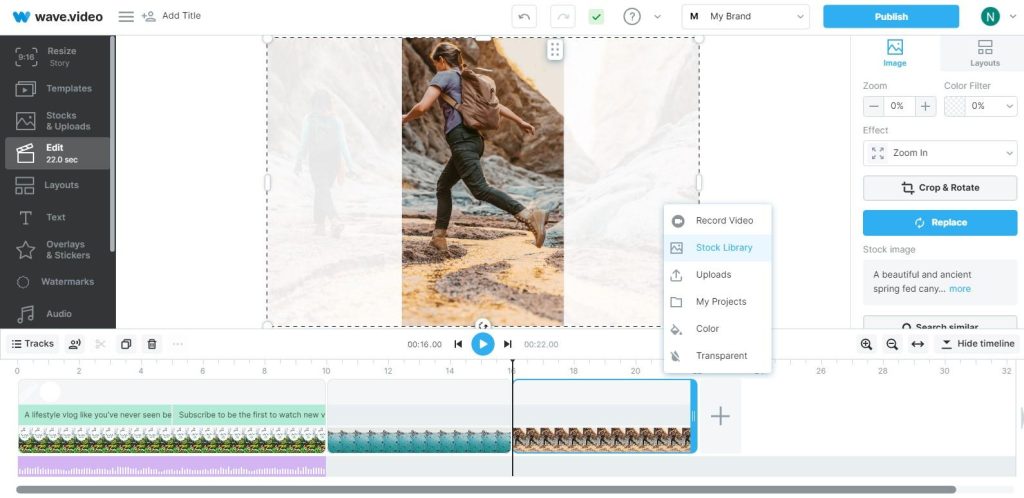
On the edit page, you can adjust the duration of the video you have uploaded. I will make the total length of my video to 15 seconds; and as we mentioned before, you can add different layouts, including text and other elements.
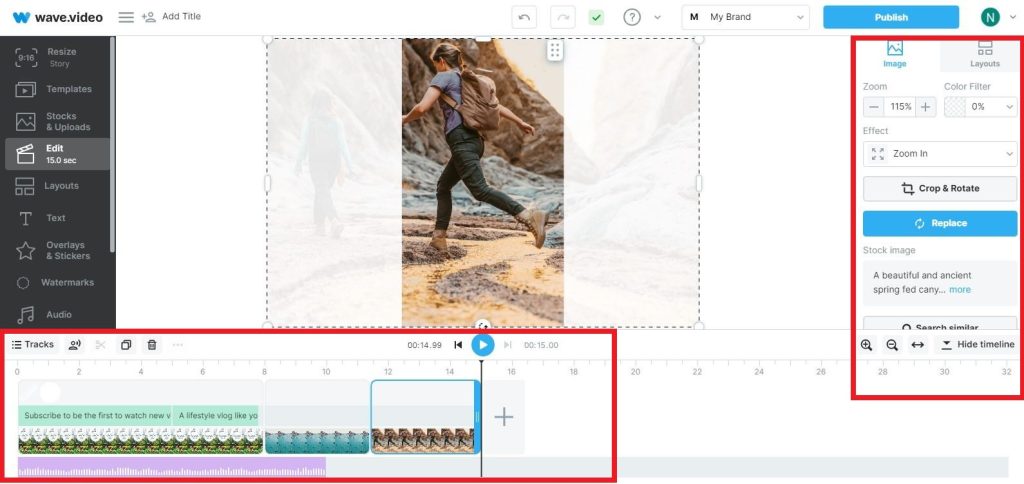
When you click on our video and hit ‘Edit,’ you’ll discover a variety of additional editing options in your editor.
For instance, you can adjust the video’s size, speed, and volume. I usually mute the audio clip. You can also add fade in and out for smoother transitions. Or, you have the option to apply a color filter for a unique look.
Trimming and cropping the video are also possible. I’ll crop a bit to remove black lines at the top and bottom.
Once that’s done, you can explore different layouts and add text. Just click the text area to find suitable templates on the right side. Once you’ve chosen one, you can adjust the duration and position as needed.
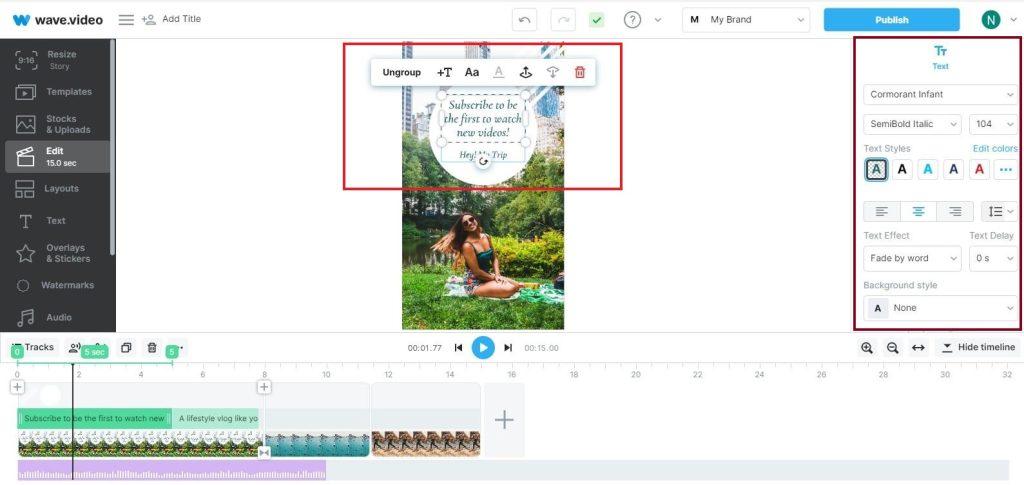
To personalize the text, just select it. I’ll name our channel ‘Hey! My Trip’ and increase the text size to 120. It’s a straightforward process.
Furthermore, you can add more text, change fonts, include backgrounds, adjust alignment, apply text effects, and much more. You’ll find all these text editing options on the right side, so you can explore and experiment as needed. Feel free to give it a try yourself!
However, please note that all these additional editing options are not needed. Wave.video can still generate a fully edited video for you just by providing a script, the same way Pictory and Fliki do.
If you want to create videos fast, skip the editing and customization options and just download your video. If you like to customize and add a bit of your human touch, then Wave.video offers you a large set of post-editing features for your video!
Publish and Download the Video
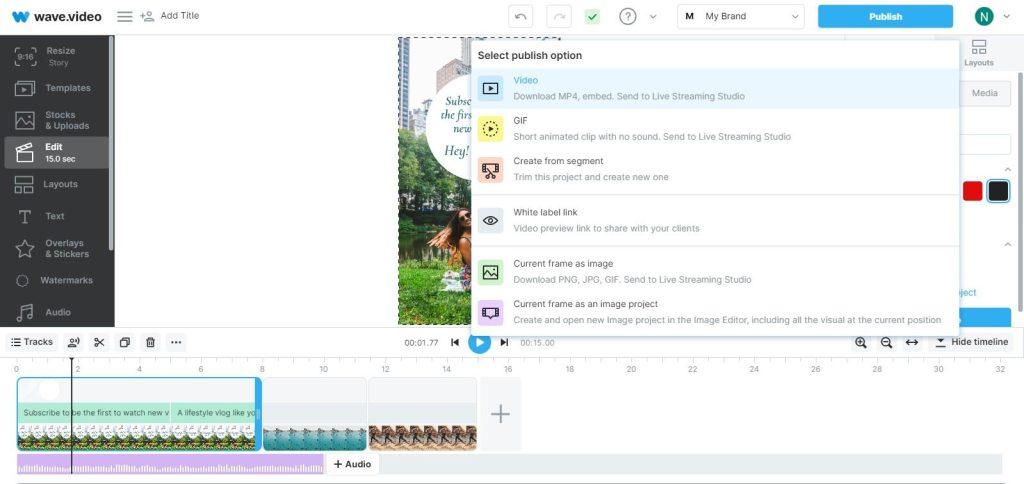
When you finish editing and you are satisfied with your work, you are now ready to publish and download the video. To finish, click ‘Publish’ in the top-right corner.
When you do, you’ll have options like downloading in MP4 format or creating a video from a segment. Click ‘Create Video,’ and the process starts. Choose the highest resolution at 720 and select the video format. Finally, click ‘Download’.
If you want to download quality higher than 720p, then you need a paid plan.
So, that’s how you use Wave.video.
Now Let’s see Some Pros and Cons of Wave.video
PROS
- Easy to Use: Wave.video is designed for anyone to create great videos without needing advanced skills.
- Lots of Templates: It offers various templates for different video purposes, like YouTube, ads, and promotions.
- Access to Stock Media: You can use images and videos from platforms like Story blocks to make your videos more diverse.
- Text-to-Video: You can turn text into engaging videos quickly.
- Customization: Wave.video lets you add text effects, overlays, stickers, and your branding for unique videos.
- Hosting and Landing Pages: It provides video hosting and customizable landing pages with call-to-action buttons.
- Analytics: You can see how well your videos are doing.
CONS
- Post Editing Needed: While Wave can generate videos independetely, it is often necessary to manually double-check scenes and make the necessary adjustements.
- Paid Access: Wave.video has a free plan, however to unlock higher download quality, longer videos and remove watermarks, you are required to upgrade to a paid plan.
But whether you want to improve your YouTube channel, create attention-grabbing video ads, or effectively convey your message through video, Wave.video is a tool worth considering.
It makes video creation a breeze thanks to AI and browser-based editor.
To explore Wave.video and take advantage of special pricing, visit their website.
Wrapping it up!
While these AI tools are helping content creators in script writing, video creation and music generation, the field of AI is continuously evolving, and new tools are emerging.
So, while they are currently our favorites to create a video with AI, keep an eye out for the latest developments in these areas to further enhance your content creation process. We also have lists of the best AI tools which get frequently updated, which you can find on our website.
The strategies that we shared in this article, along with great AI-powered content generation tools, can truly enhance the video creation process, making it more creative and more importantly, superfast and accessible to anyone, regardless of their video editing experience.
And that’s a wrap! I hope this comprehensive guide to creating a video with AI generations tools, and the brief exploration of each of them, proves helpful in your video creation journey.
I’ll see you next time!